Deploy an ASP.NET Core application to Azure App Service from the command line
By Cam Soper
This tutorial will show you how to build and deploy an ASP.NET Core application to Microsoft Azure App Service using command line tools. When finished, you’ll have a web application built in ASP.NET MVC Core hosted as an Azure App Service Web App. This tutorial is written using Windows command line tools, but can be applied to macOS and Linux environments, as well.
In this tutorial, you learn how to:
[!div class=“checklist”] * Create an Azure App Service website using Azure CLI * Deploy an ASP.NET Core application to Azure App Service using the Git command line tool
Prerequisites
To complete this tutorial, you’ll need:
- A Microsoft Azure subscription
- .NET Core
- Git command line client
Create a web application
Create a new directory for the web application, create a new ASP.NET Core MVC application, and then run the website locally.
Windows
REM Create a new ASP.NET Core MVC application
dotnet new razor -o MyApplication

REM Change to the new directory that was just created
cd MyApplication

REM Run the application
dotnet run
Other
# Create a new ASP.NET Core MVC application
dotnet new razor -o MyApplication

# Change to the new directory that was just created
cd MyApplication

# Run the application
dotnet run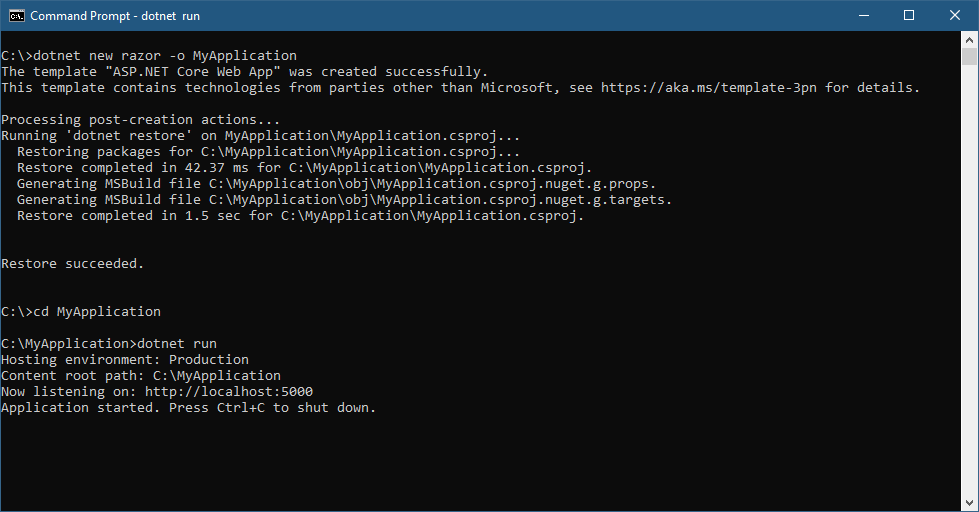
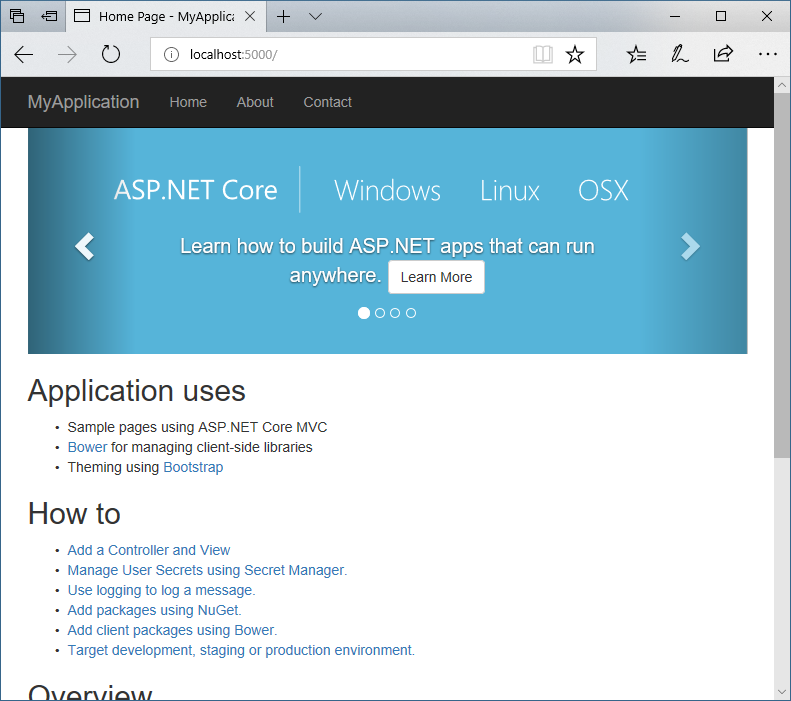
Test the application by browsing to http://localhost:5000.
Create the Azure App Service instance
Using the Azure Cloud Shell, create a resource group, App Service plan, and an App Service web app.
# Generate a unique Web App name
let randomNum=$RANDOM*$RANDOM
webappname=tutorialApp$randomNum

# Create the DotNetAzureTutorial resource group
az group create --name DotNetAzureTutorial --location EastUS

# Create an App Service plan.
az appservice plan create --name $webappname --resource-group DotNetAzureTutorial --sku FREE

# Create the Web App
az webapp create --name $webappname --resource-group DotNetAzureTutorial --plan $webappname
Before deployment, set the account-level deployment credentials using the following command:
az webapp deployment user set --user-name <desired user name> --password <desired password>A deployment URL is needed to deploy the application using Git. Retrieve the URL like this.
az webapp deployment source config-local-git -n $webappname -g DotNetAzureTutorial --query [url] -o tsvNote the displayed URL ending in .git. It’s used in the next step.
Deploy the application using Git
You’re ready to deploy from your local machine using Git.
[!NOTE] It’s safe to ignore any warnings from Git about line endings.
Windows
REM Initialize the local Git repository
git init
REM Add the contents of the working directory to the repo
git add --all
REM Commit the changes to the local repo
git commit -a -m "Initial commit"
REM Add the URL as a Git remote repository
git remote add azure <THE GIT URL YOU NOTED EARLIER>
REM Push the local repository to the remote
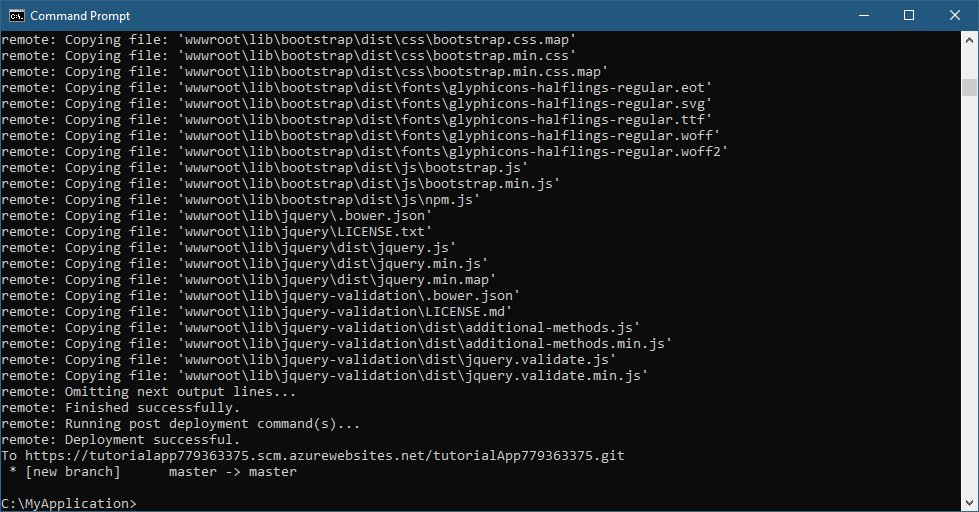
git push azure masterOther
# Initialize the local Git repository
git init

# Add the contents of the working directory to the repo
git add --all

# Commit the changes to the local repo
git commit -a -m "Initial commit"

# Add the URL as a Git remote repository
git remote add azure <THE GIT URL YOU NOTED EARLIER>

# Push the local repository to the remote
git push azure master
Git will prompt for the deployment credentials that were set earlier. After authenticating, the application will be pushed to the remote location, built, and deployed.
Test the application
Test the application by browsing to https://<web app name>.azurewebsites.net. To display the address in the Cloud Shell (or Azure CLI), use the following:
az webapp show -n $webappname -g DotNetAzureTutorial --query defaultHostName -o tsv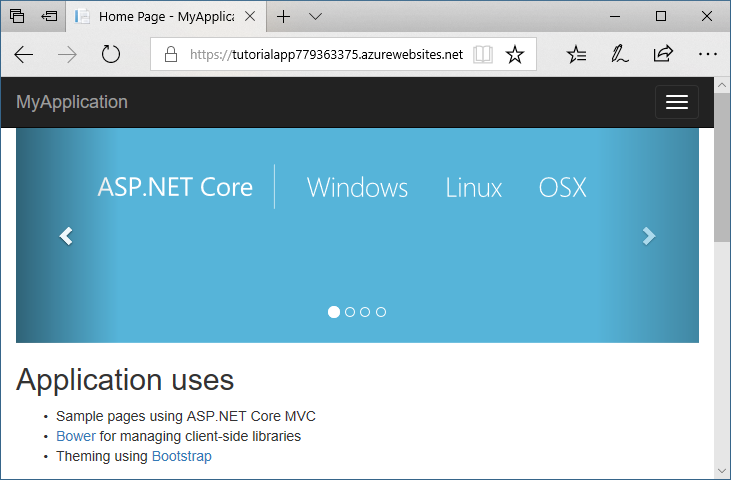
Clean up
When finished testing the app and inspecting the code and resources, delete the web app and plan by deleting the resource group.
az group delete -n DotNetAzureTutorialNext steps
In this tutorial, you learned how to:
[!div class=“checklist”] * Create an Azure App Service website using Azure CLI * Deploy an ASP.NET Core application to Azure App Service using the Git command line tool
Next, learn to use the command line to deploy an existing web app that uses CosmosDB.
[!div class=“nextstepaction”] Deploy to Azure from the command line with .NET Core
 )
)
|
|