Use Code First Migrations to Seed the Database
by Mike Wasson
In this section, you will use Code First Migrations in EF to seed the database with test data.
From the Tools menu, select Library Package Manager, then select Package Manager Console. In the Package Manager Console window, enter the following command:
[!code-consoleMain]
1: Enable-Migrations
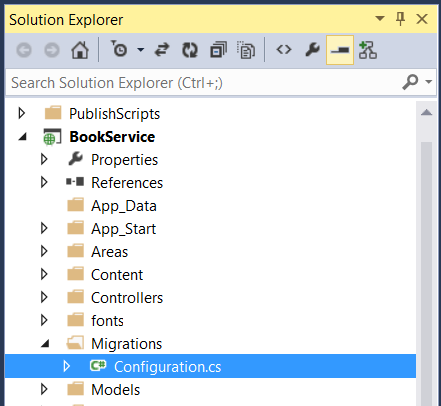
This command adds a folder named Migrations to your project, plus a code file named Configuration.cs in the Migrations folder.
Open the Configuration.cs file. Add the following using statement.
[!code-csharpMain]
1: using BookService.Models;
Then add the following code to the Configuration.Seed method:
[!code-csharpMain]
1: protected override void Seed(BookService.Models.BookServiceContext context)
2: {
3: context.Authors.AddOrUpdate(x => x.Id,
4: new Author() { Id = 1, Name = "Jane Austen" },
5: new Author() { Id = 2, Name = "Charles Dickens" },
6: new Author() { Id = 3, Name = "Miguel de Cervantes" }
7: );
8:
9: context.Books.AddOrUpdate(x => x.Id,
10: new Book() { Id = 1, Title = "Pride and Prejudice", Year = 1813, AuthorId = 1,
11: Price = 9.99M, Genre = "Comedy of manners" },
12: new Book() { Id = 2, Title = "Northanger Abbey", Year = 1817, AuthorId = 1,
13: Price = 12.95M, Genre = "Gothic parody" },
14: new Book() { Id = 3, Title = "David Copperfield", Year = 1850, AuthorId = 2,
15: Price = 15, Genre = "Bildungsroman" },
16: new Book() { Id = 4, Title = "Don Quixote", Year = 1617, AuthorId = 3,
17: Price = 8.95M, Genre = "Picaresque" }
18: );
19: }
In the Package Manager Console window, type the following commands:
[!code-consoleMain]
1: Add-Migration Initial
2: Update-Database
The first command generates code that creates the database, and the second command executes that code. The database is created locally, using LocalDB.

Explore the API (Optional)
Press F5 to run the application in debug mode. Visual Studio starts IIS Express and runs your web app. Visual Studio then launches a browser and opens the app’s home page.
When Visual Studio runs a web project, it assigns a port number. In the image below, the port number is 50524. When you run the application, you’ll see a different port number.
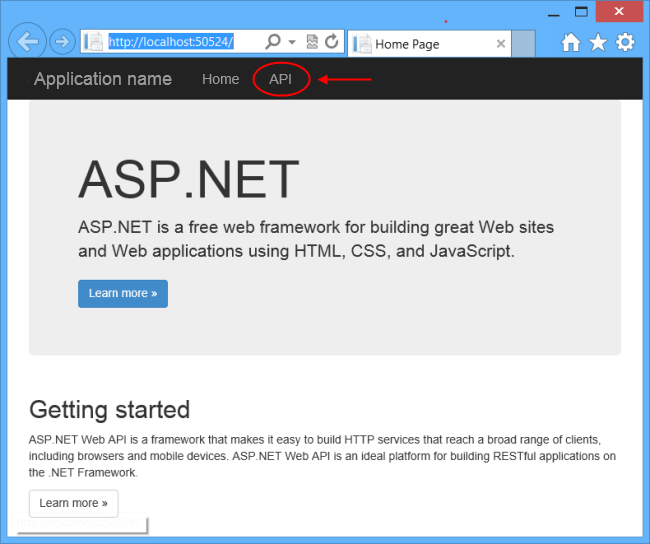
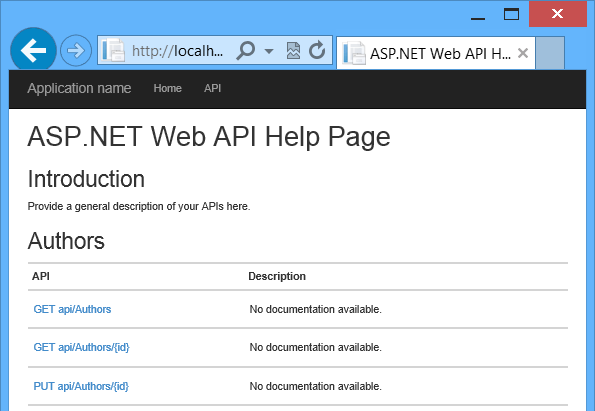
The home page is implemented using ASP.NET MVC. At the top of the page, there is a link that says “API”. This link brings you to an auto-generated help page for the web API. (To learn how this help page is generated, and how you can add your own documentation to the page, see Creating Help Pages for ASP.NET Web API.) You can click on the help page links to see details about the API, including the request and response format.
The API enables CRUD operations on the database. The following summarizes the API.
| Authors | |
|---|---|
| GET api/authors | Get all authors. |
| GET api/authors/{id} | Get an author by ID. |
| POST /api/authors | Create a new author. |
| PUT /api/authors/{id} | Update an existing author. |
| DELETE /api/authors/{id} | Delete an author. |
| Books | |
|---|---|
| GET /api/books | Get all books. |
| GET /api/books/{id} | Get a book by ID. |
| POST /api/books | Create a new book. |
| PUT /api/books/{id} | Update an existing book. |
| DELETE /api/books/{id} | Delete a book. |
View the Database (Optional)
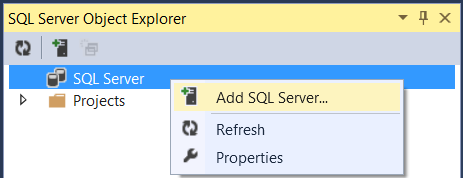
When you ran the Update-Database command, EF created the database and called the Seed method. When you run the application locally, EF uses LocalDB. You can view the database in Visual Studio. From the View menu, select SQL Server Object Explorer.
 )
)
|
|