Using the HTML5 and jQuery UI Datepicker Popup Calendar with ASP.NET MVC - Part 3
This tutorial will teach you the basics of how to work with editor templates, display templates, and the jQuery UI datepicker popup calendar in an ASP.NET MVC Web application.
Working with Complex Types
In this section you’ll create an address class and learn how to create a template to display it.
In the Models folder, create a new class file named Person.cs where you’ll put two types: a Person class and an Address class. The Person class will contain a property that’s typed as Address. The Address type is a complex type, meaning it’s not one of the built-in types like int, string, or double. Instead, it has several properties. The code for the new classes looks like this:
[!code-csharpMain]
1: public class Address {
2: public string StreetAddress { get; set; }
3: public string City { get; set; }
4: public string PostalCode { get; set; }
5: }
6:
7: public class Person {
8: public int ID { get; set; }
9: public string FirstName { get; set; }
10: public string LastName { get; set; }
11: public string Phone { get; set; }
12: public Address HomeAddress;
13: }
In the Movie controller, add the following PersonDetail action to display a person instance:
[!code-csharpMain]
1: public ActionResult PersonDetail(int id = 0) {
2: return View(GetPerson(id));
3: }
Then add the following code to the Movie controller to populate the Person model with some sample data:
[!code-csharpMain]
1: Person GetPerson(int id) {
2: var p = new Person
3: {
4: ID = 1,
5: FirstName = "Joe",
6: LastName = "Smith",
7: Phone = "123-456",
8: HomeAddress = new Address
9: {
10: City = "Great Falls",
11: StreetAddress = "1234 N 57th St",
12: PostalCode = "95045"
13: }
14: };
15: return p;
16: }
Open the Views.cshtml file and add the following markup for the PersonDetail view.
[!code-cshtmlMain]
1: @model Person
2: @{
3: ViewBag.Title = "PersonDetail";
4: }
5: <h2>Person Detail</h2>
6: @Html.DisplayForModel()
Press Ctrl+F5 to run the application and navigate to Movies/PersonDetail.
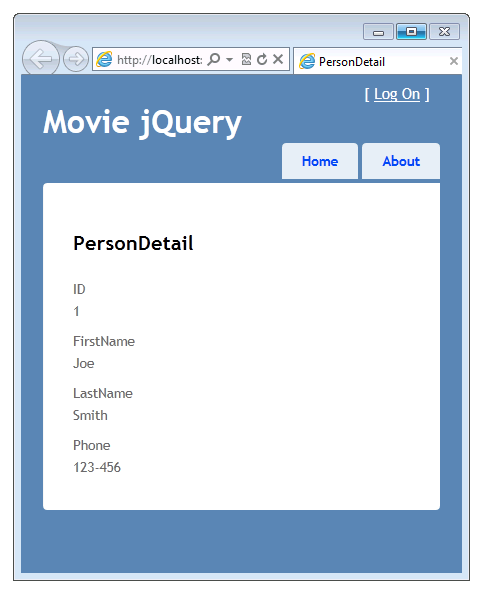
The PersonDetail view doesn’t contain the Address complex type, as you can see in this screenshot. (No address is shown.)
The Address model data is not displayed because it’s a complex type. To display the address information, open the Views.cshtml file again and add the following markup.
[!code-cshtmlMain]
1: @Html.DisplayFor( x => x.HomeAddress )
The complete markup for the PersonDetail now view looks like this:
[!code-cshtmlMain]
1: @model MvcMovie.Models.Person
2:
3: @{
4: ViewBag.Title = "PersonDetail";
5: }
6:
7: <h2>Person Detail</h2>
8:
9: @Html.DisplayForModel()
10: @Html.DisplayFor( x => x.HomeAddress )
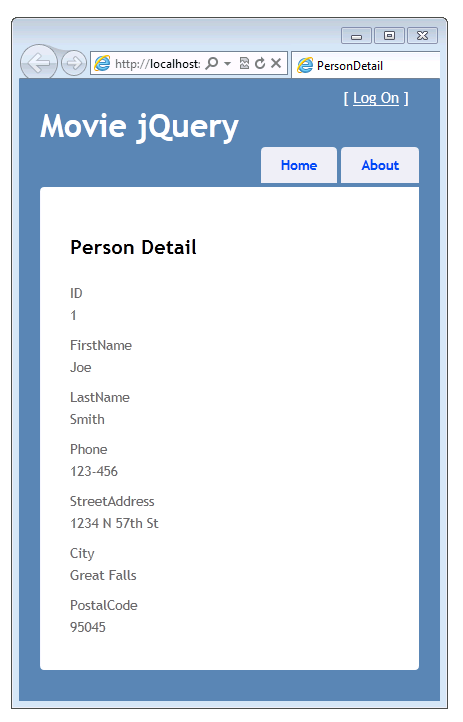
Run the application again and display the PersonDetail view. The address information is now displayed:
Creating a Template for a Complex Type
In this section you’ll create a template that will be used to render the Address complex type. When you create a template for the Address type, ASP.NET MVC can automatically use it to format an address model anywhere in the application. This gives you a way to control the rendering of the Address type from just one place in the application.
In the *Viewsfolder, create a strongly typed partial view named Address:
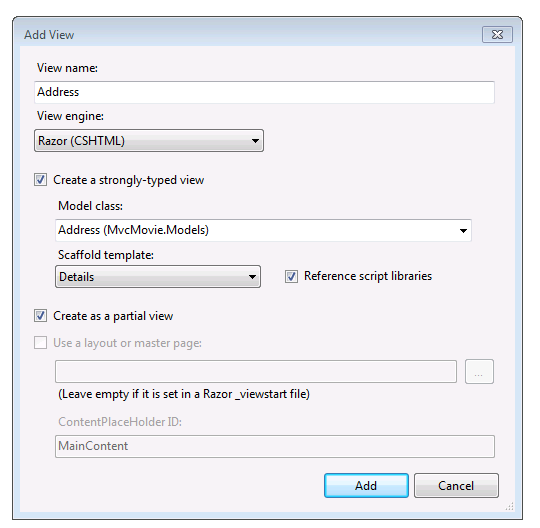
Click Add, and then open the new Views.cshtml file. The new view contains the following generated markup:
[!code-cshtmlMain]
1: @model MvcMovie.Models.Address
2:
3: <fieldset>
4: <legend>Address</legend>
5:
6: <div class="display-label">StreetAddress</div>
7: <div class="display-field">
8: @Html.DisplayFor(model => model.StreetAddress)
9: </div>
10:
11: <div class="display-label">City</div>
12: <div class="display-field">
13: @Html.DisplayFor(model => model.City)
14: </div>
15:
16: <div class="display-label">PostalCode</div>
17: <div class="display-field">
18: @Html.DisplayFor(model => model.PostalCode)
19: </div>
20: </fieldset>
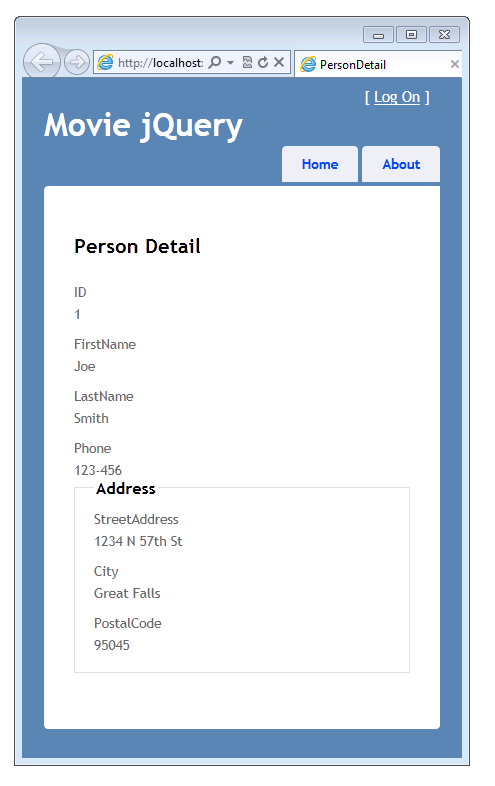
Run the application and display the PersonDetail view. This time, the Address template that you just created is used to display the Address complex type, so the display looks like the following:
Summary: Ways to Specify the Model Display Format and Template
You’ve seen that you can specify the format or template for a model property by using the following approaches:
Applying the
[!code-csharpMain]DisplayFormatattribute to a property in the model. For example, the following code causes the date to be displayed without the time:1: [DisplayFormat(DataFormatString = "{0:d}")]
2: public DateTime ReleaseDate { get; set; }
Applying a DataType attribute to a property in the model and specifying the data type. For example, the following code causes the date to be displayed without the time.
[!code-csharpMain]
If the application contains a date.cshtml template in the Viewsfolder or the Viewsfolder, that template will be used to render the1: [DataType(DataType.Date)]2: public DateTime ReleaseDate { get; set; }
DateTimeproperty. Otherwise the built-in ASP.NET templating system displays the property as a date.- Creating a display template in the Viewsfolder or the Viewsfolder whose name matches the data type that you want to format. For example, you saw that the Views.cshtml was used to render
DateTimeproperties in a model, without adding an attribute to the model and without adding any markup to views. - Using the UIHint attribute on the model to specify the template to display the model property.
Explicitly adding the display template name to the Html.DisplayFor call in a view.
The approach you use depends on what you need to do in your application. It’s not uncommon to mix these approaches to get exactly the kind of formatting that you need.
In the next section, you’ll switch gears a bit and move from customizing how data is displayed to customizing how it’s entered. You’ll hook up the jQuery datepicker to the edit views in the application in order to provide a slick way to specify dates.
 )
)
|
|