#Create a web API with ASP.NET Core and Visual Studio for Windows
By Rick Anderson and Mike Wasson
This tutorial builds a web API for managing a list of “to-do” items. A user interface (UI) is not created.
There are 3 versions of this tutorial:
- Windows: Web API with Visual Studio for Windows (This tutorial)
- macOS: (xref:)Web API with Visual Studio for Mac
- macOS, Linux, Windows: (xref:)Web API with Visual Studio Code
[!INCLUDEintro to web API]
Prerequisites
[!INCLUDEinstall 2.0]
See this PDF for the ASP.NET Core 1.1 version.
Create the project
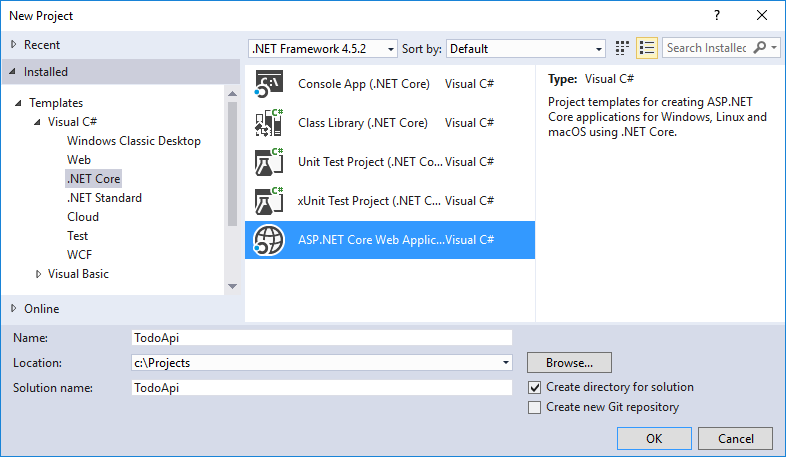
From Visual Studio, select File menu, > New > Project.
Select the ASP.NET Core Web Application (.NET Core) project template. Name the project TodoApi and select OK.
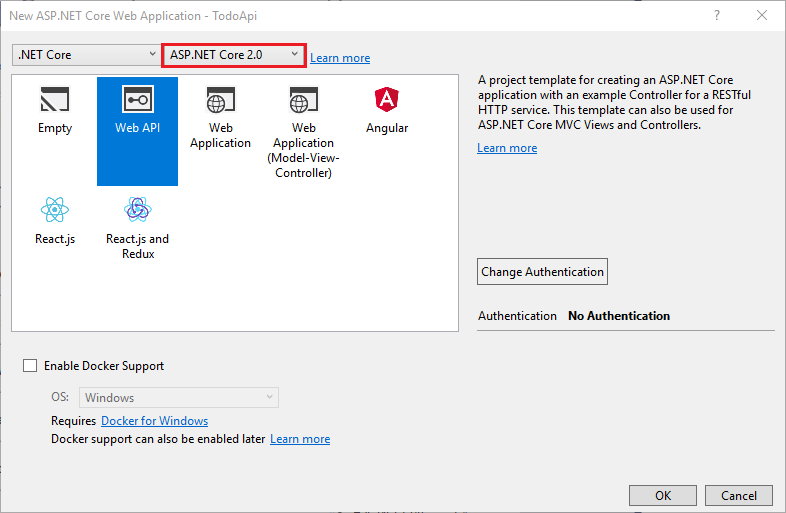
In the New ASP.NET Core Web Application - TodoApi dialog, select the Web API template. Select OK. Do not select Enable Docker Support.
Launch the app
In Visual Studio, press CTRL+F5 to launch the app. Visual Studio launches a browser and navigates to http://localhost:port/api/values, where port is a randomly chosen port number. Chrome, Microsoft Edge, and Firefox display the following output:
["value1","value2"]Add a model class
A model is an object that represents the data in the app. In this case, the only model is a to-do item.
Add a folder named “Models”. In Solution Explorer, right-click the project. Select Add > New Folder. Name the folder Models.
Note: The model classes go anywhere in the project. The Models folder is used by convention for model classes.
Add a TodoItem class. Right-click the Models folder and select Add > Class. Name the class TodoItem and select Add.
Update the TodoItem class with the following code:
[!code-csharpMain]
1: namespace TodoApi.Models
2: {
3: public class TodoItem
4: {
5: public long Id { get; set; }
6: public string Name { get; set; }
7: public bool IsComplete { get; set; }
8: }
9: }
The database generates the Id when a TodoItem is created.
Create the database context
The database context is the main class that coordinates Entity Framework functionality for a given data model. This class is created by deriving from the Microsoft.EntityFrameworkCore.DbContext class.
Add a TodoContext class. Right-click the Models folder and select Add > Class. Name the class TodoContext and select Add.
Replace the class with the following code:
[!code-csharpMain]
1: using Microsoft.EntityFrameworkCore;
2:
3: namespace TodoApi.Models
4: {
5: public class TodoContext : DbContext
6: {
7: public TodoContext(DbContextOptions<TodoContext> options)
8: : base(options)
9: {
10: }
11:
12: public DbSet<TodoItem> TodoItems { get; set; }
13:
14: }
15: }
[!INCLUDERegister the database context]
Add a controller
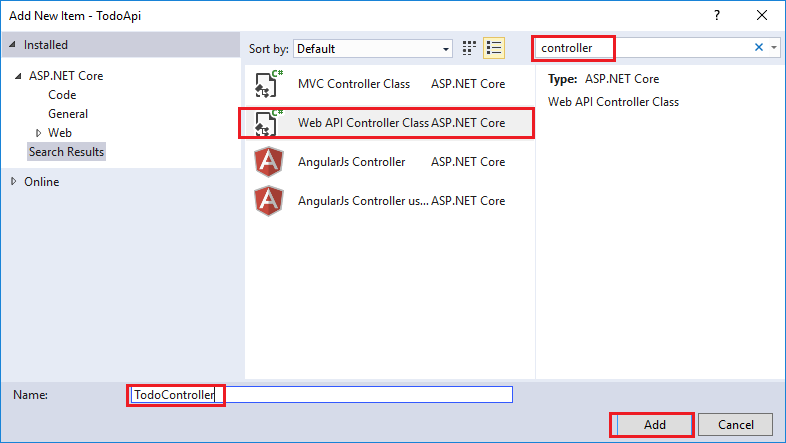
In Solution Explorer, right-click the Controllers folder. Select Add > New Item. In the Add New Item dialog, select the Web API Controller Class template. Name the class TodoController.
Replace the class with the following code:
[!INCLUDEcode and get todo items]
Launch the app
In Visual Studio, press CTRL+F5 to launch the app. Visual Studio launches a browser and navigates to http://localhost:port/api/values, where port is a randomly chosen port number. Navigate to the Todo controller at http://localhost:port/api/todo.
[!INCLUDElast part of web API]
[!INCLUDEnext steps]
 )
)
|
|