Install Zabbix server
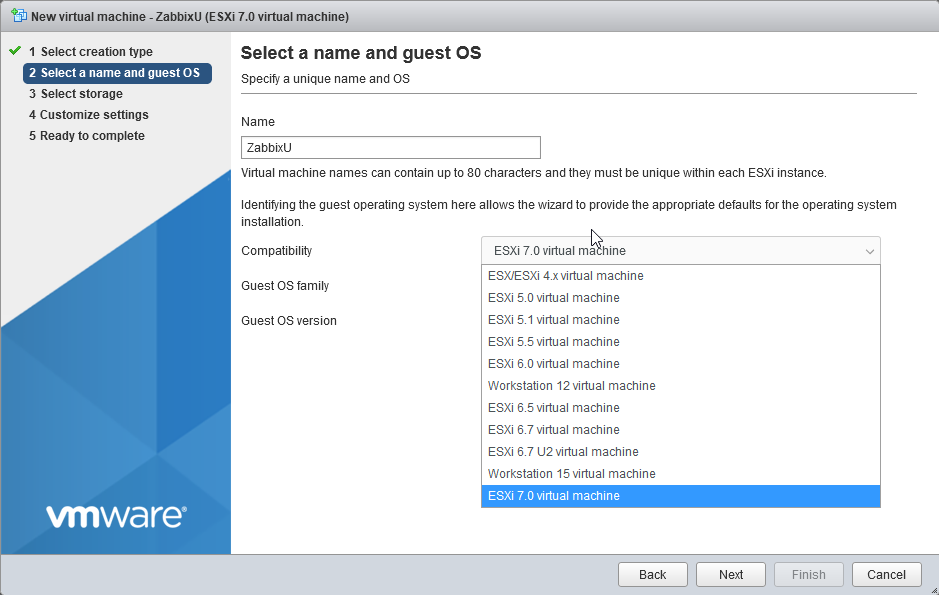
This page contains a couple of my comments to official documentation https://www.zabbix.com/documentation/current/. I have downloaded Ubuntu version with Nginx and Mysql https://www.zabbix.com/download?zabbix=5.2&os_distribution=ubuntu&os_version=20.04_focal&db=mysql&ws=nginx and set up Virtual machine with it.
There two alternative way to install Zabbix. You can select complete prepared docker zabbix dockers or installation from scratch. Below you can see installation from scratch.
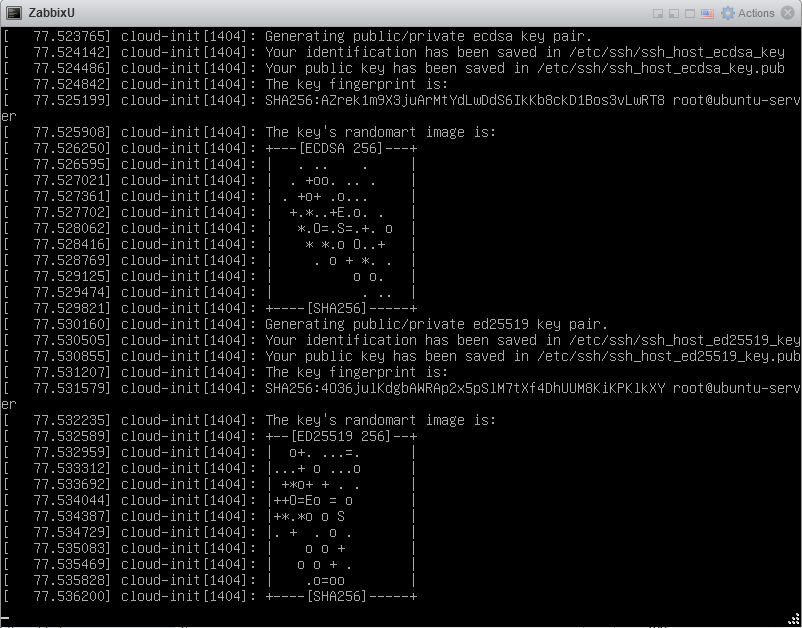
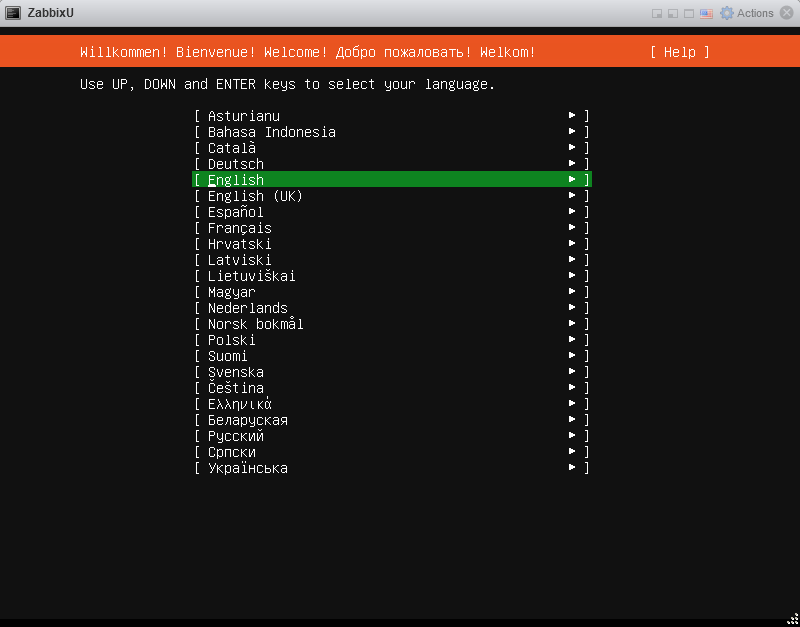
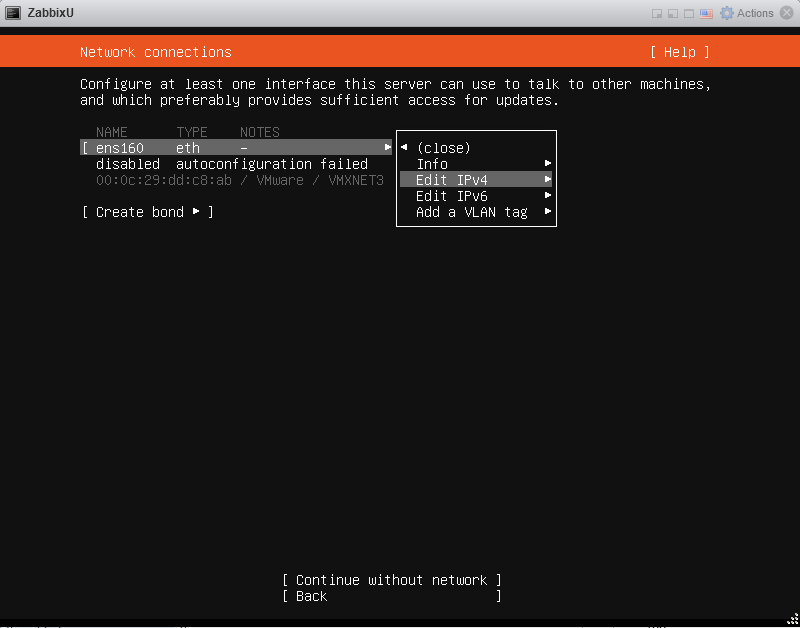
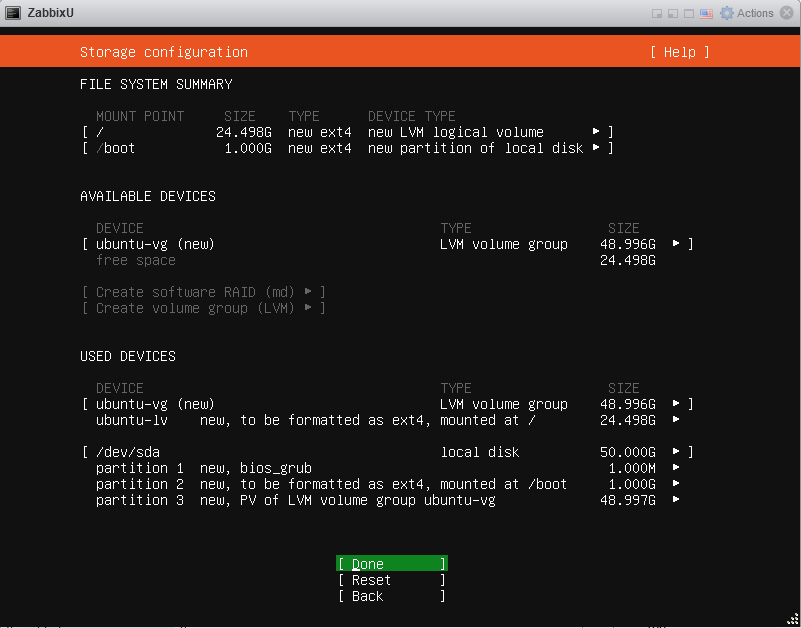
1. Install Ubuntu 20.4


2. Install Zabbix 5.2
- a. Install Zabbix repository
# sudo wget https://repo.zabbix.com/zabbix/5.2/ubuntu/pool/main/z/zabbix-release/zabbix-release_5.2-1+ubuntu20.04_all.deb
# sudo dpkg -i zabbix-release_5.2-1+ubuntu20.04_all.deb
# sudo apt update
# sudo apt install zabbix-server-mysql zabbix-frontend-php zabbix-nginx-conf zabbix-agent
# sudo apt-get install mysql-client
# sudo apt-get install mysql-server
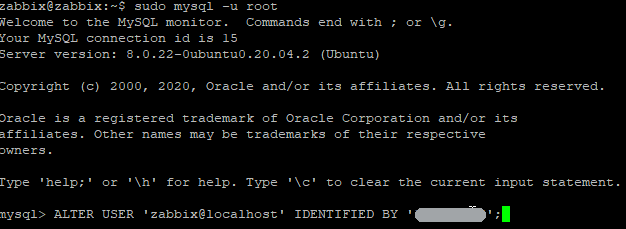
# sudo mysql -uroot -p
********
mysql> create database zabbix character set utf8 collate utf8_bin;
mysql> create user zabbix@localhost identified by '********';
mysql> grant all privileges on zabbix.* to zabbix@localhost;
mysql> quit;
Password can be changed at any time.
# zcat /usr/share/doc/zabbix-server-mysql*/create.sql.gz | mysql -uzabbix -p zabbix
********
Edit file /etc/zabbix/zabbix_server.conf
DBPassword=***********

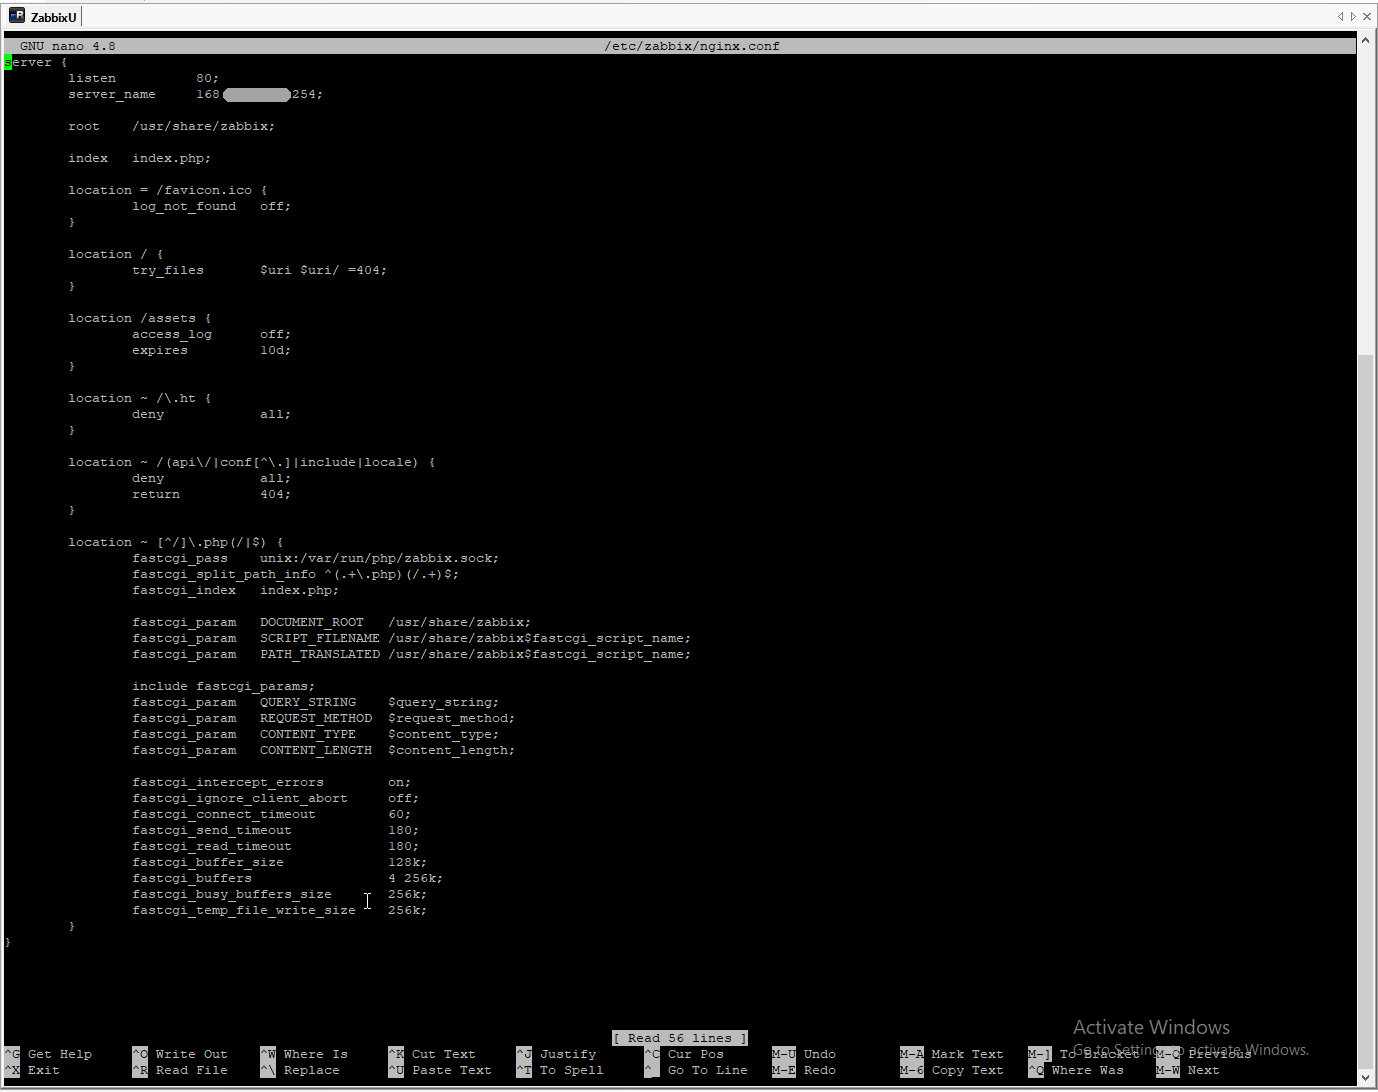
Edit file /etc/zabbix/nginx.conf
For working without domain name look configuration below.
3. Check and debug.
After this step site can be running. But usually no, because something going wrong.
- Therefore I add
# sudo apt install net-tools
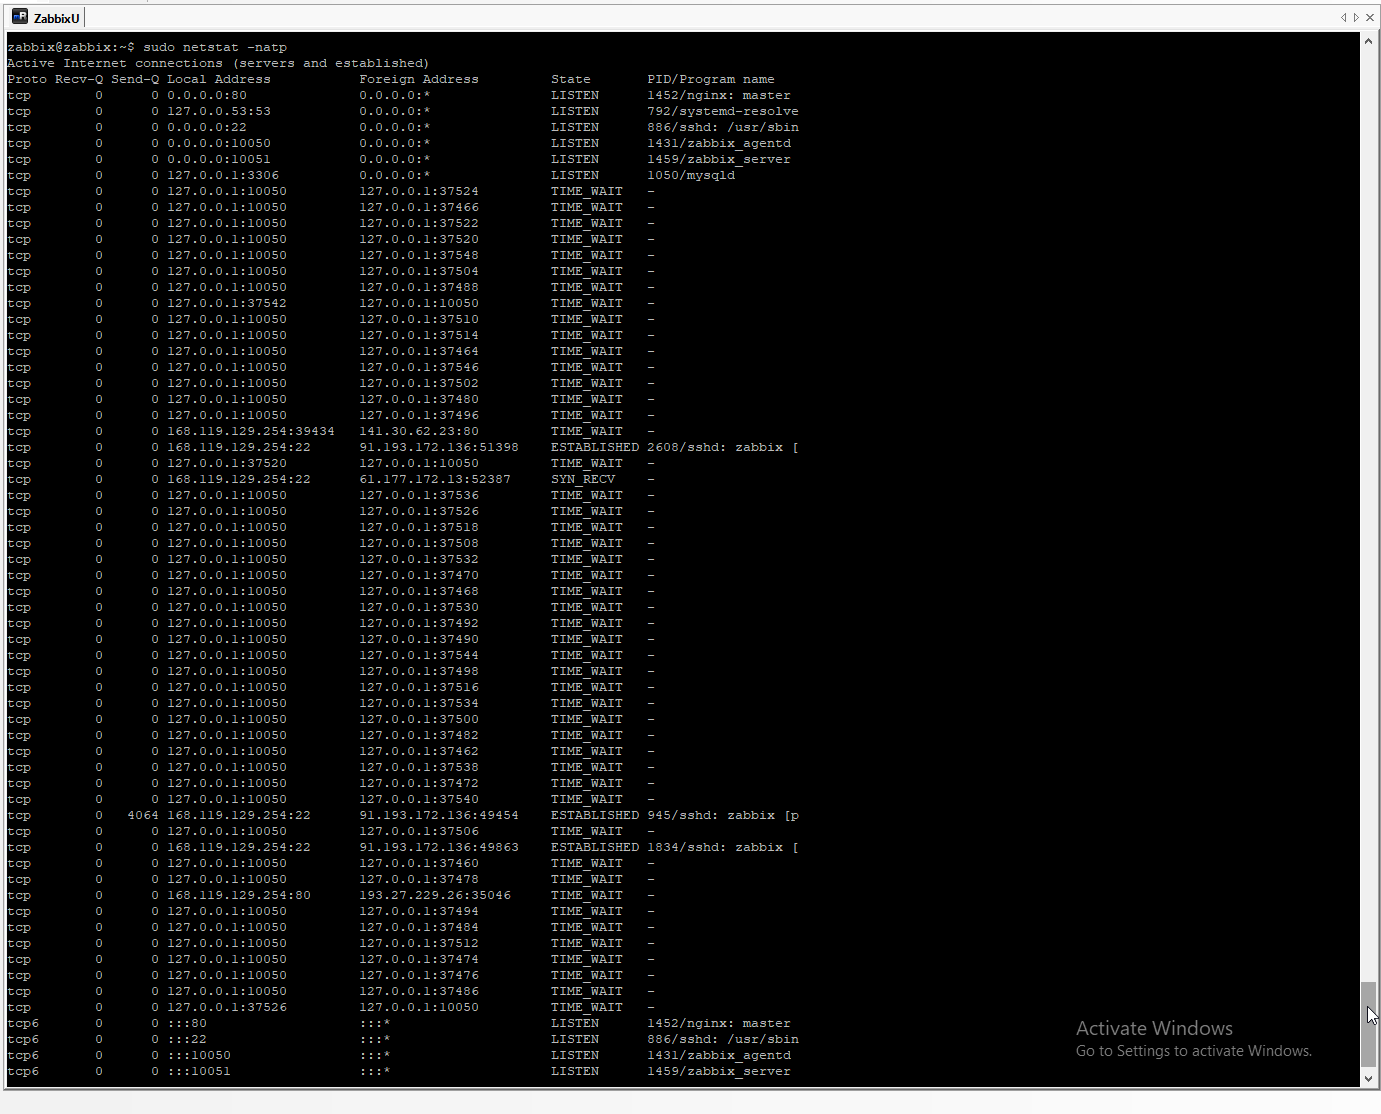
to chech all opened ports. Port 80 can be opened by Nginx and zabbix service port can be opened too.
# netstat -natp
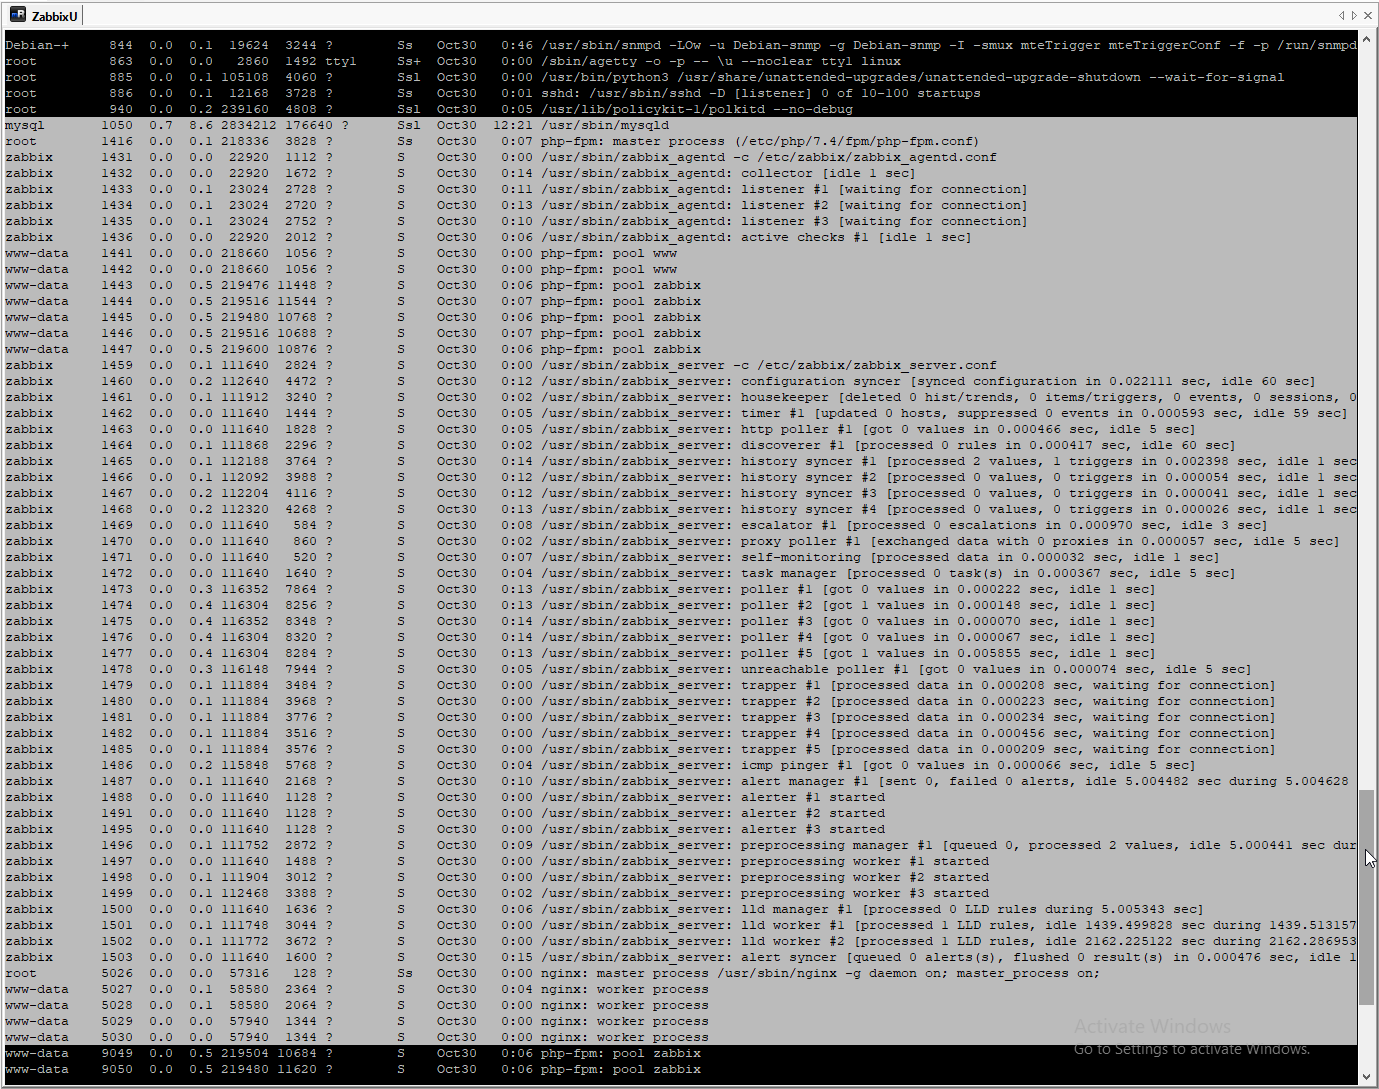
# ps -aux
# systemctl status zabbix-server
# systemctl status nginx
# cat /etc/nginx/nginx.conf
# cat /etc/nginx/conf.d/zabbix.conf -> /etc/zabbix/nginx.conf
Also after initialisation will be create
# cat /usr/share/zabbix/conf/zabbix.conf.php
and also look to this configuration files
# cat /etc/zabbix/web/zabbix.conf.php
# cat /etc/zabbix/zabbix_server.conf
# tail /var/log/zabbix/zabbix_server.log
# tail /var/log/zabbix/zabbix_agentd.log
#
# tail /var/log/mysql/error.log
#
# tail /var/log/nginx/access.log
# tail /var/log/nginx/error.log
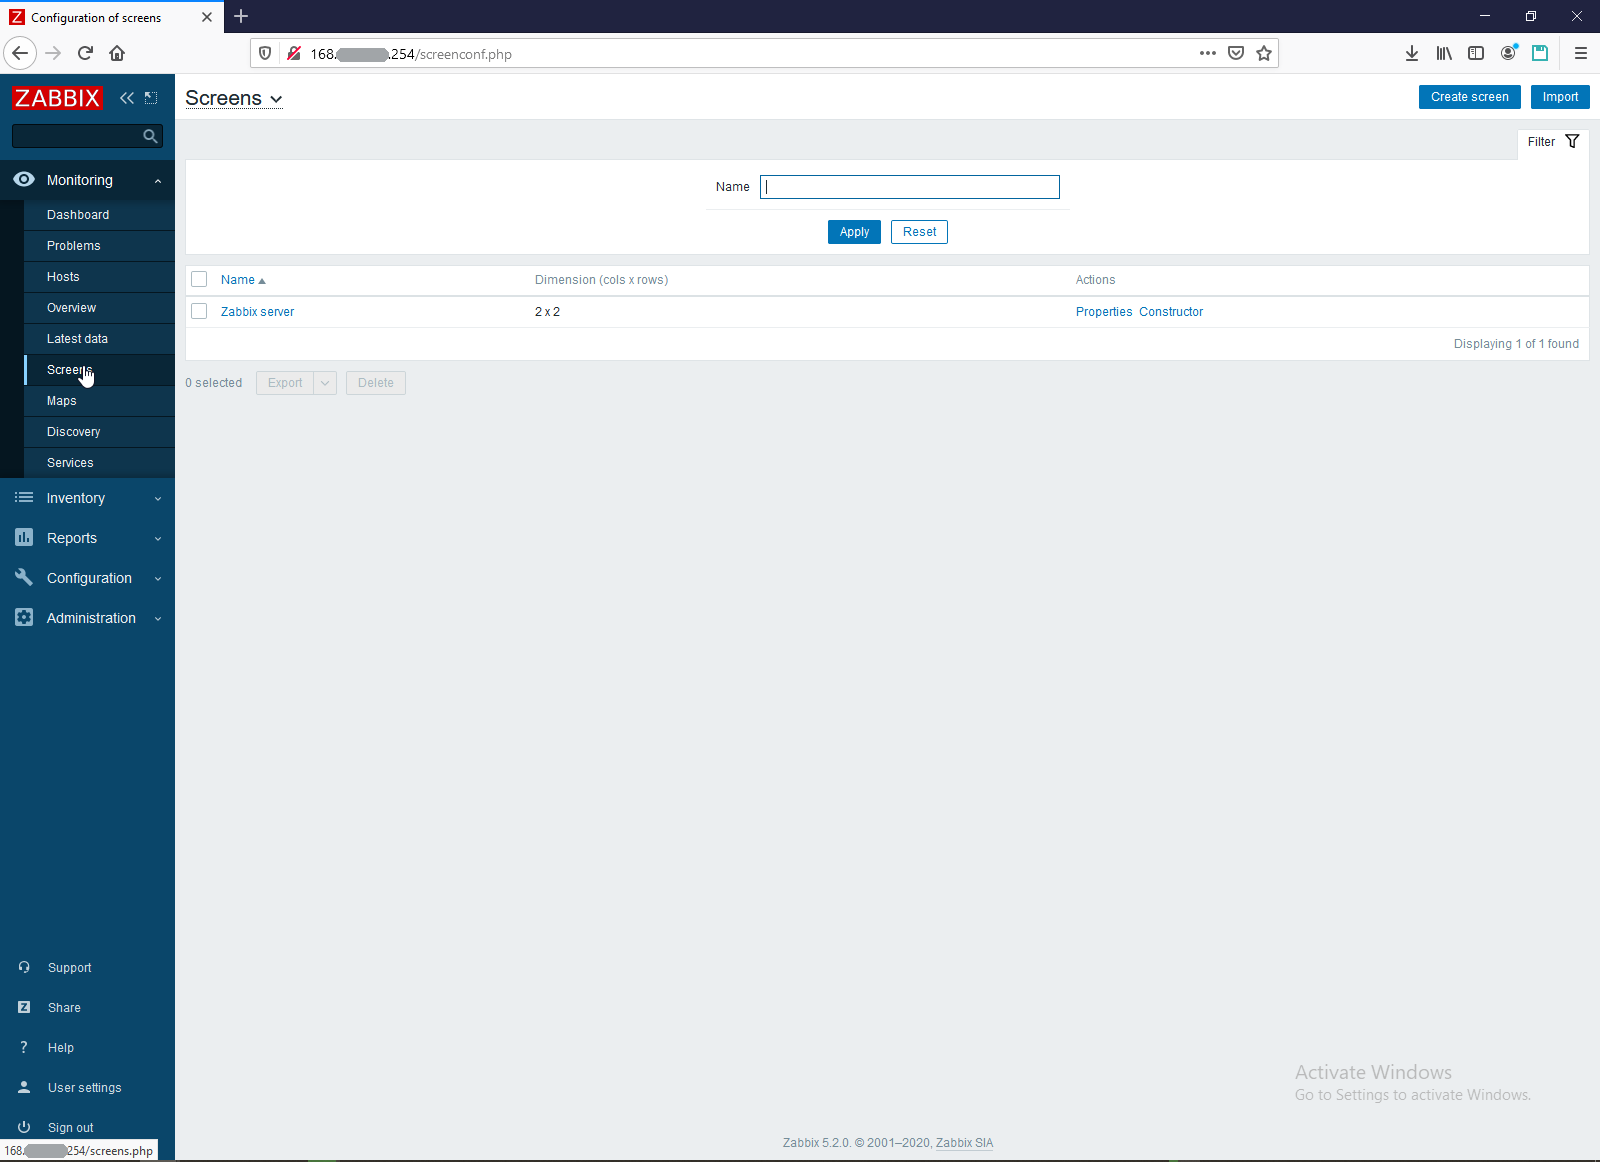
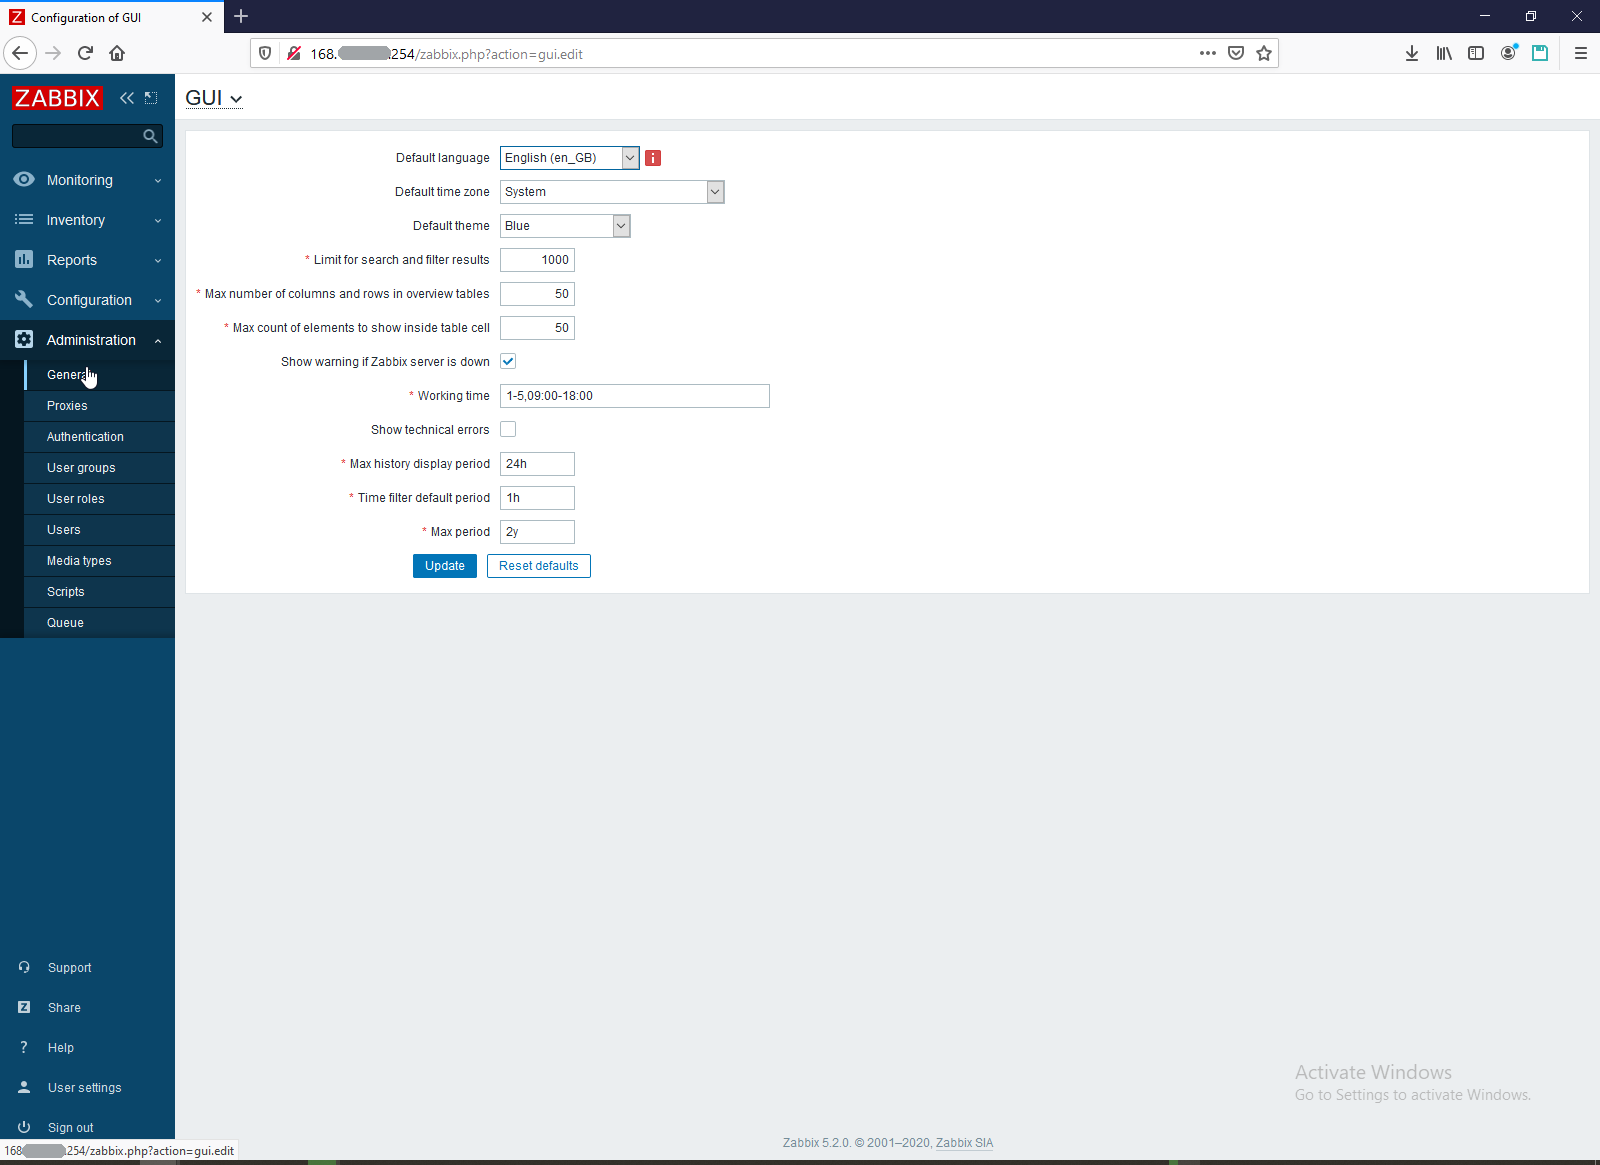
4. Configure.
If server working you have to access to configuration form. https://www.zabbix.com/documentation/current/manual/quickstart/login. Enter the user name Admin with password zabbix to log in as a Zabbix superuser. Access to Configuration and Administration menus will be granted. And main goal is connect PHP frontend to database.
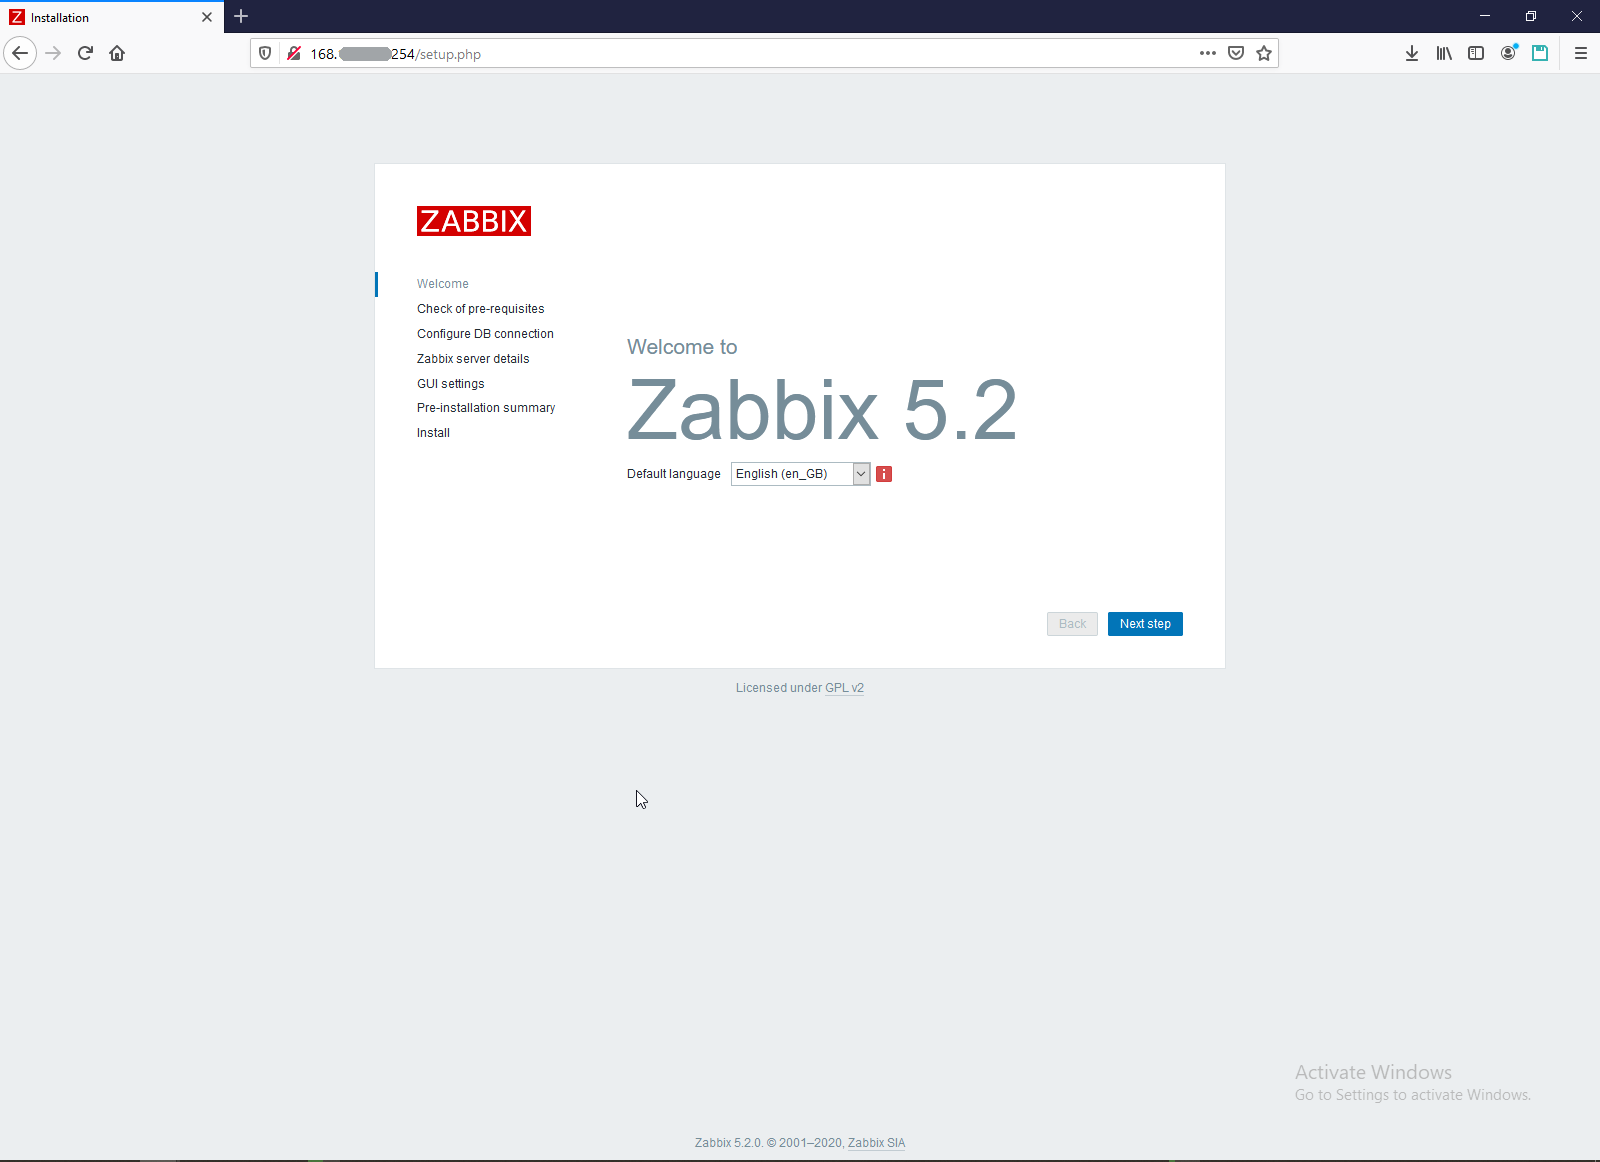


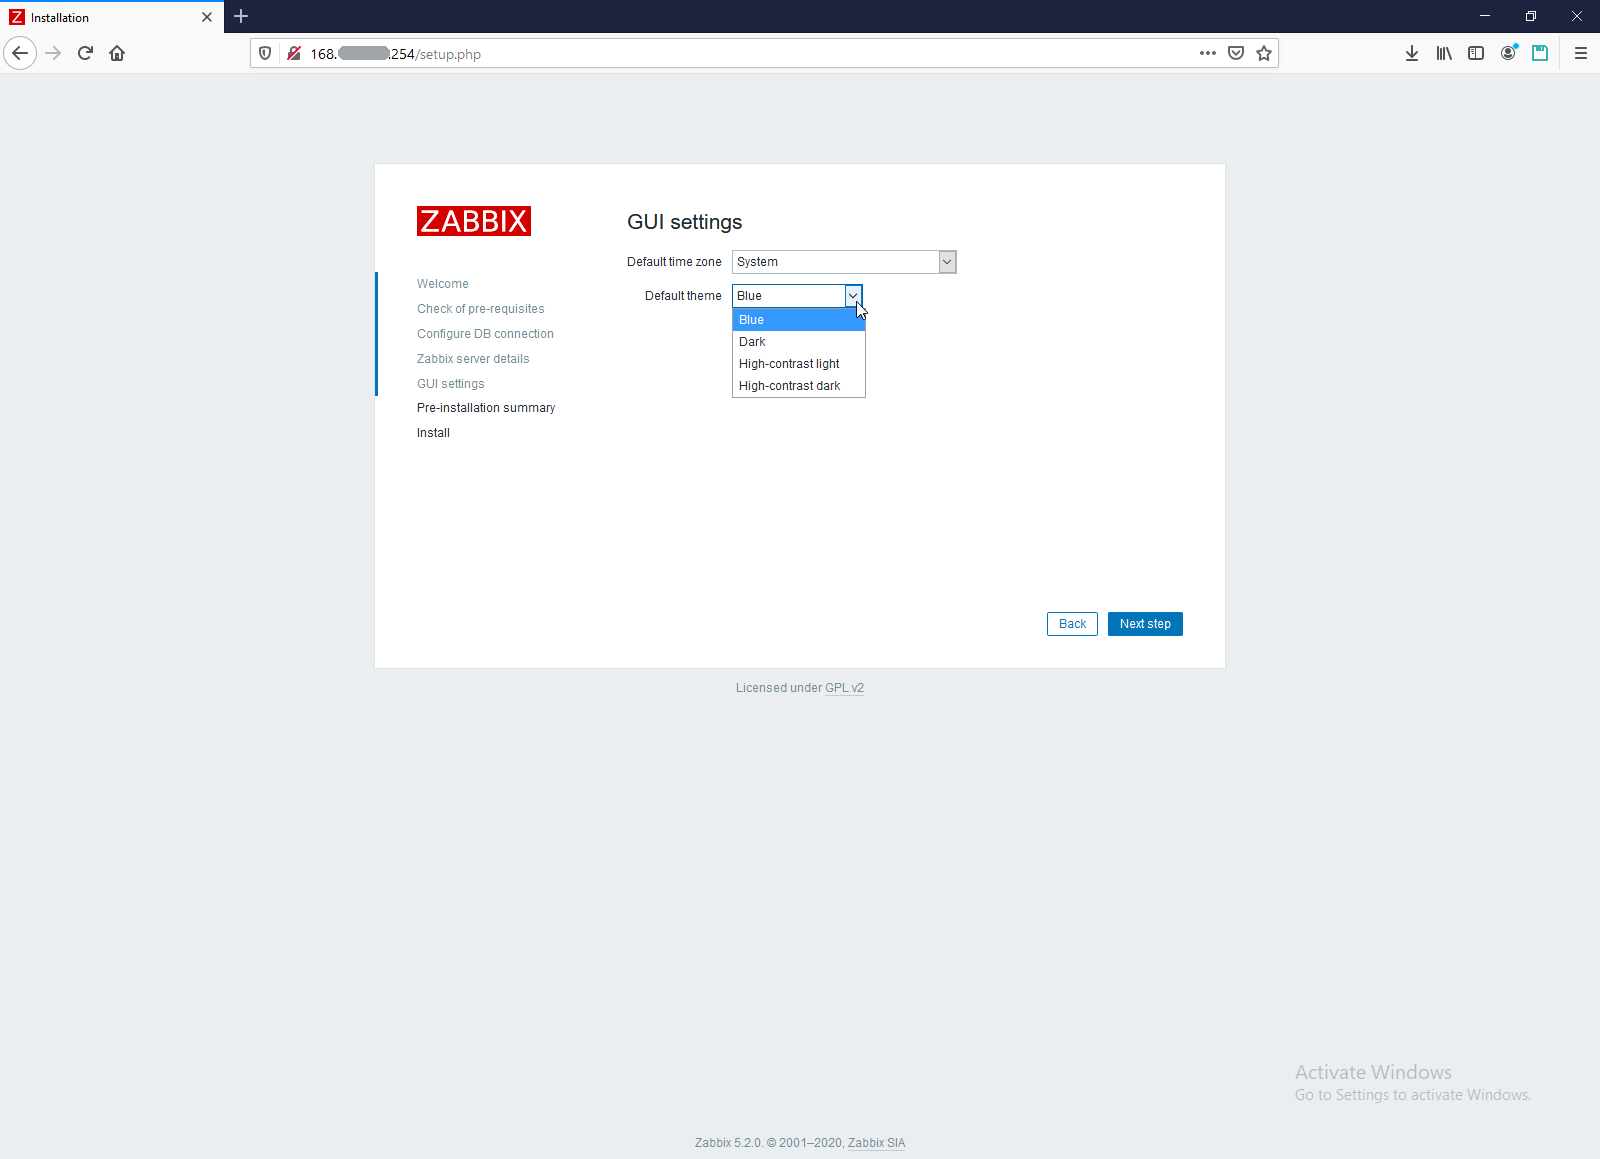
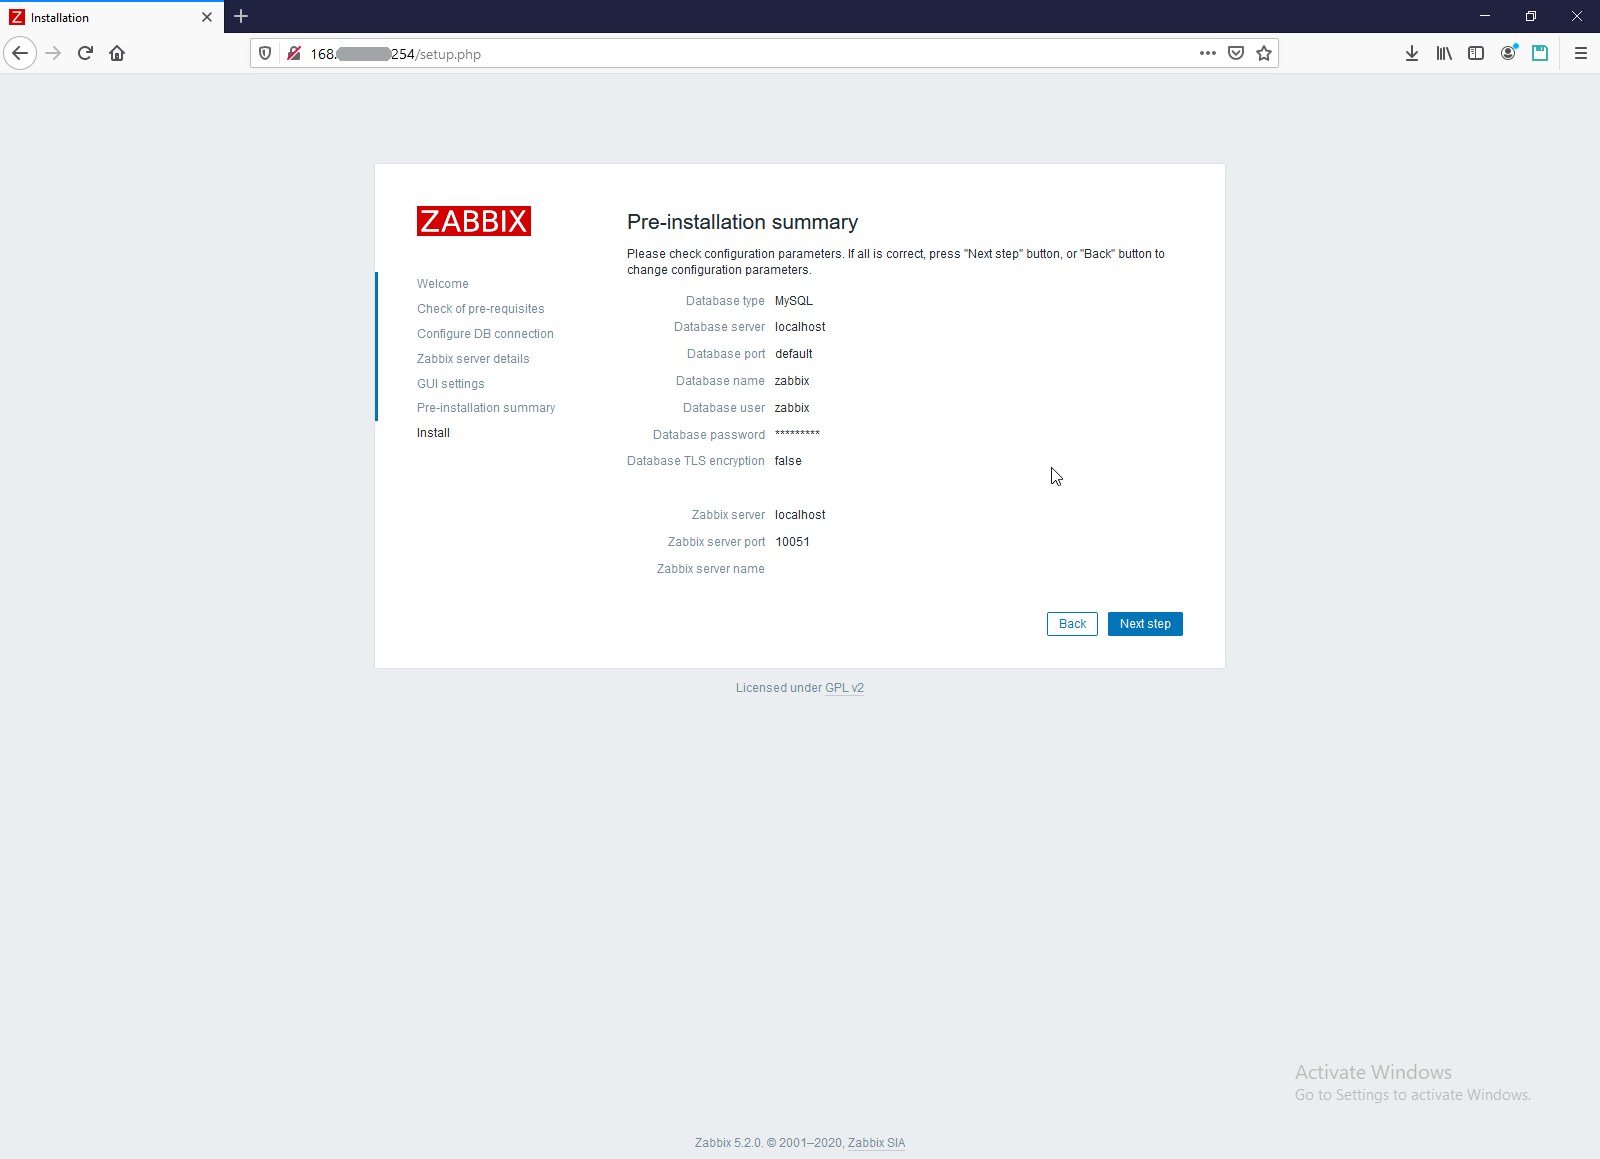
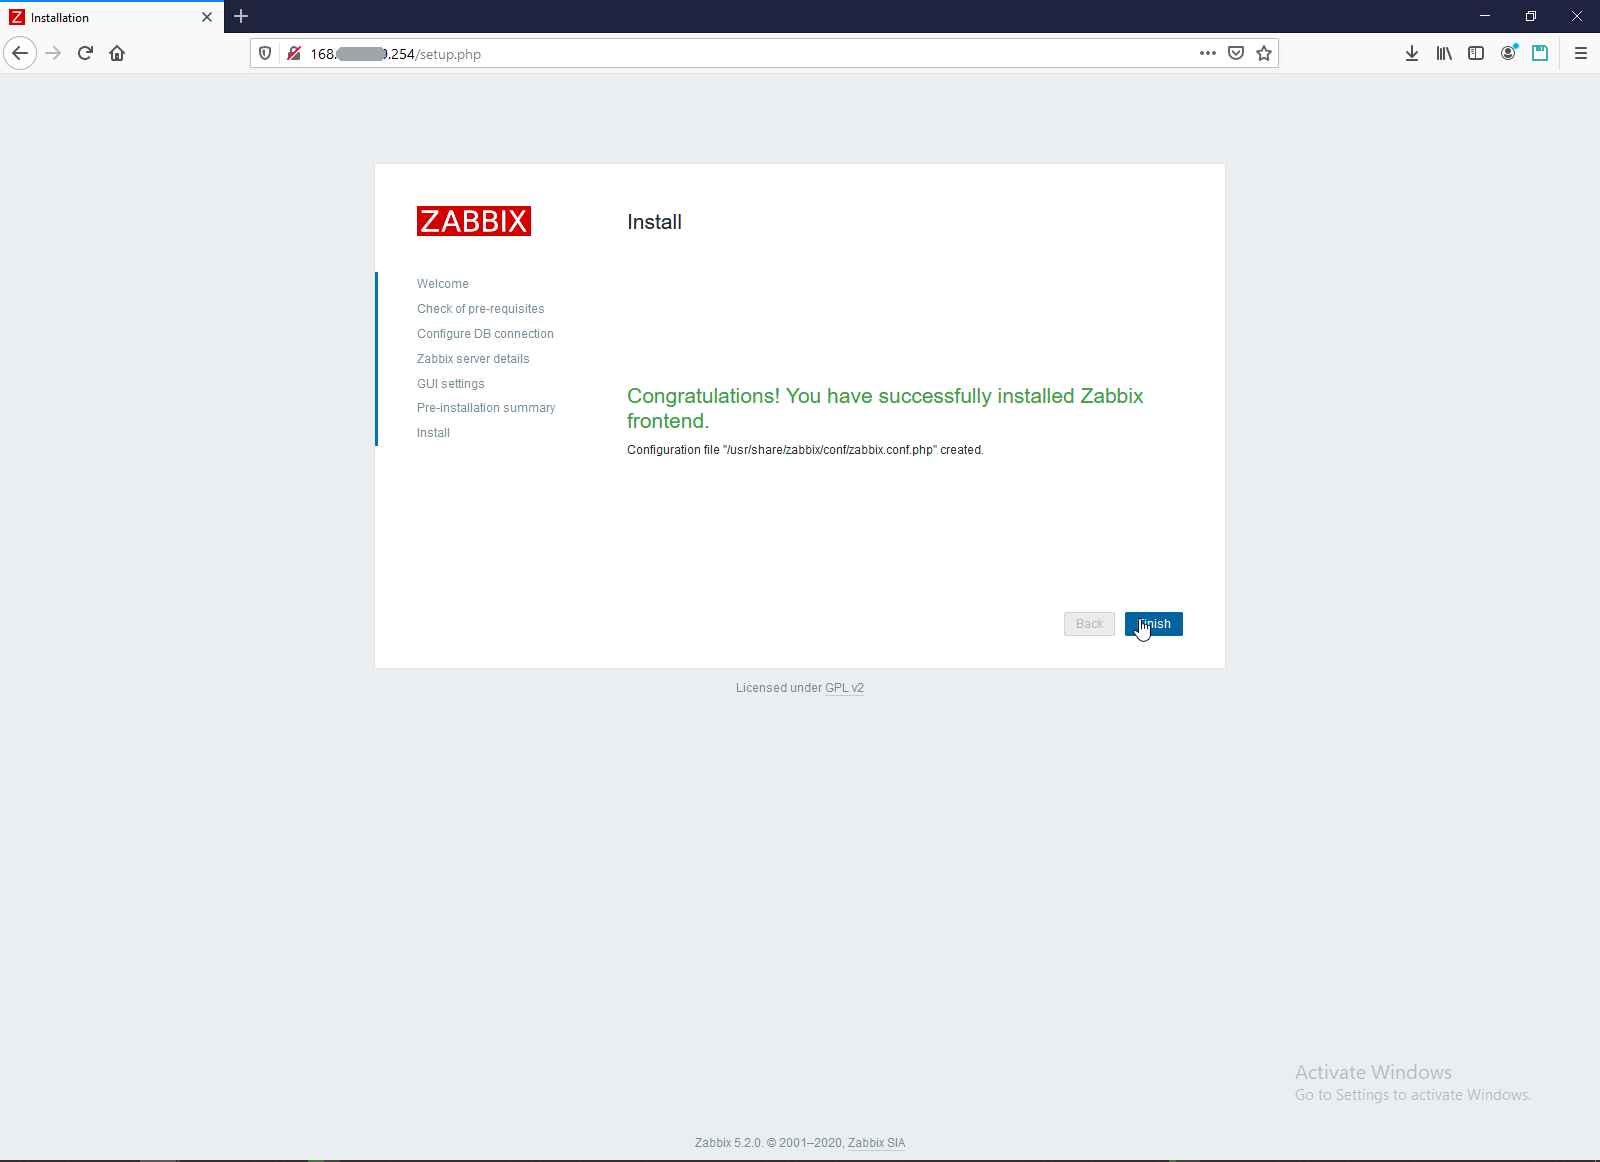
5. And final step of server installation is entering into to Zabbix.


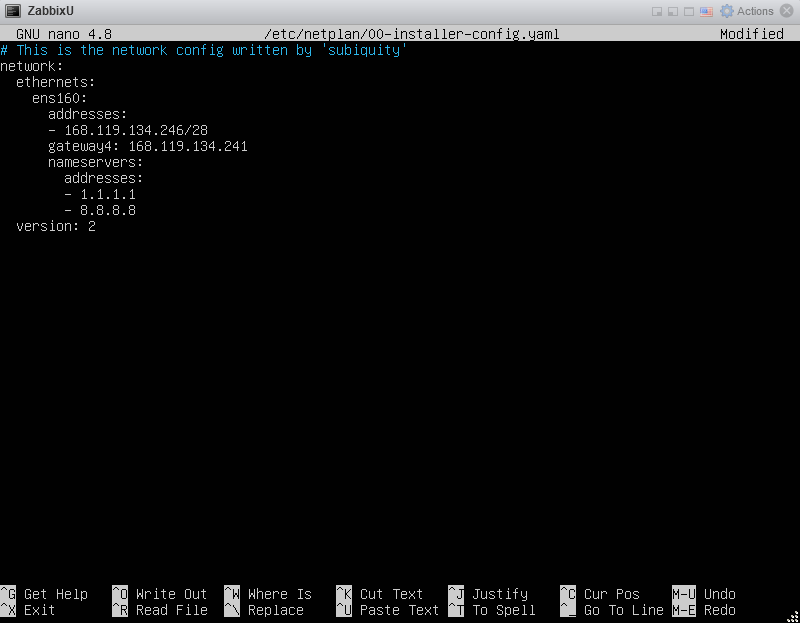
6. Move Zabbix server to another IP.
Ubuntu 20 changing IP
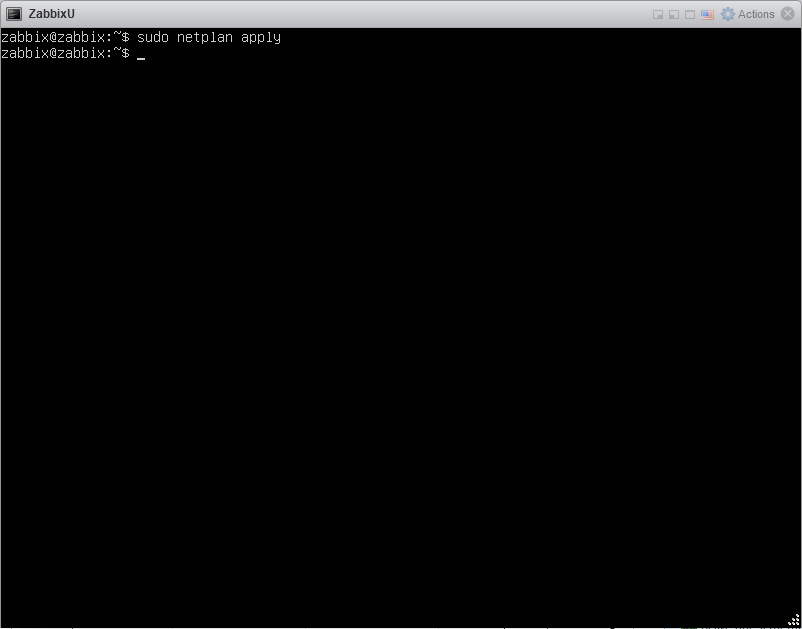
# sudo nano /etc/netplan/00-installer-config.yaml
# sudo netplan apply
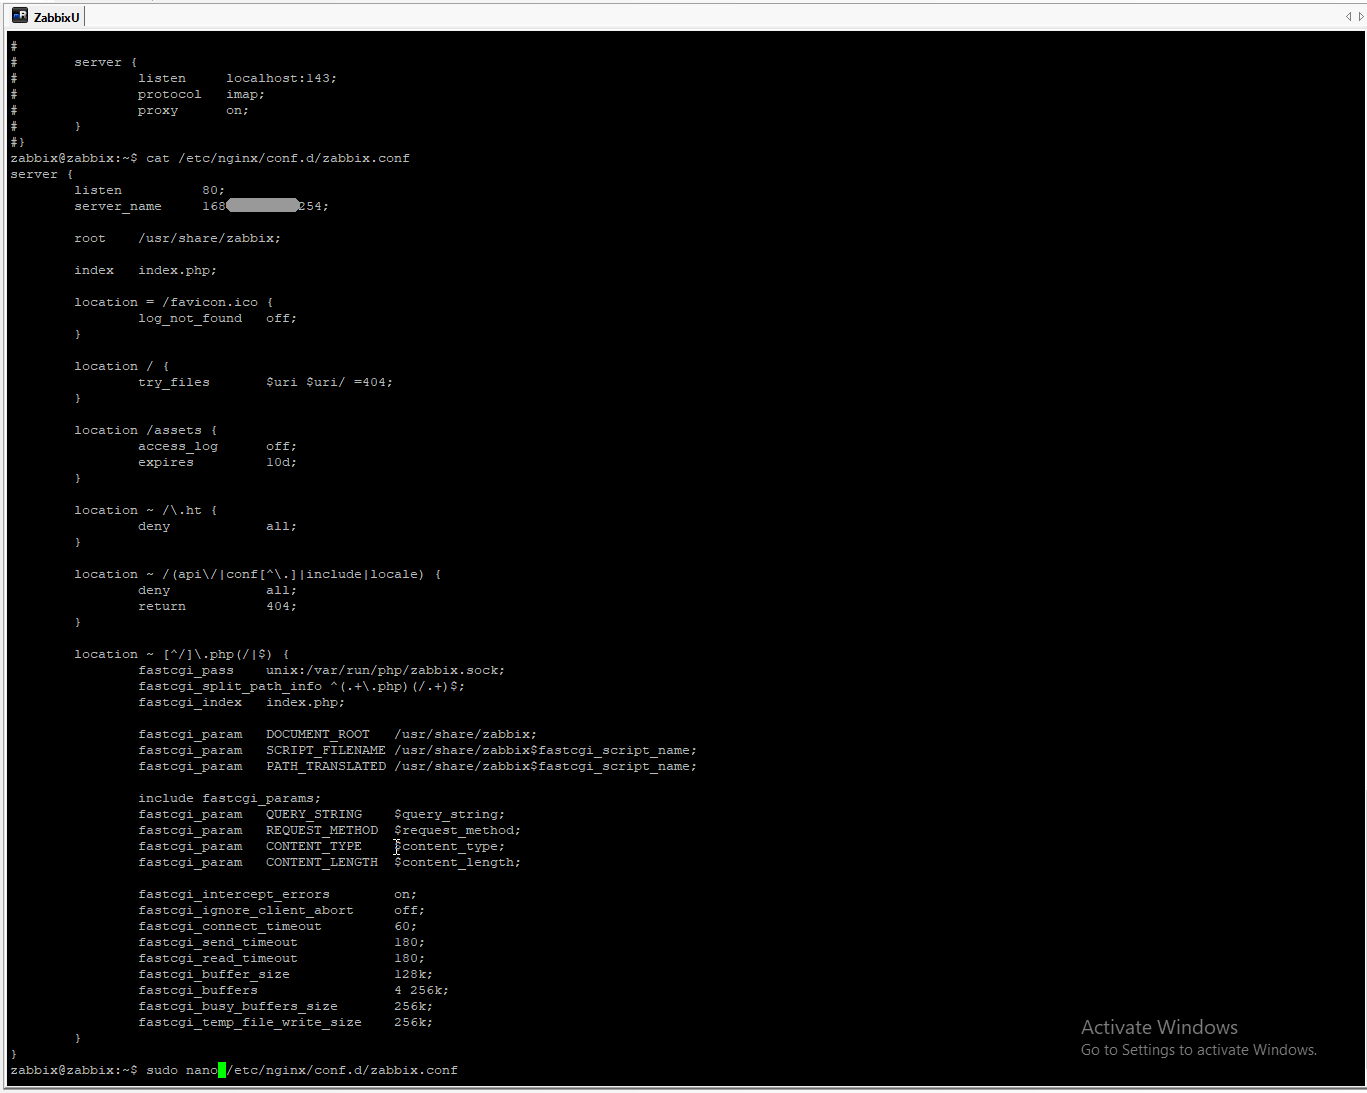
And than change zabbix server configuration
# sudo nano /etc/nginx/conf.d/zabbix.conf
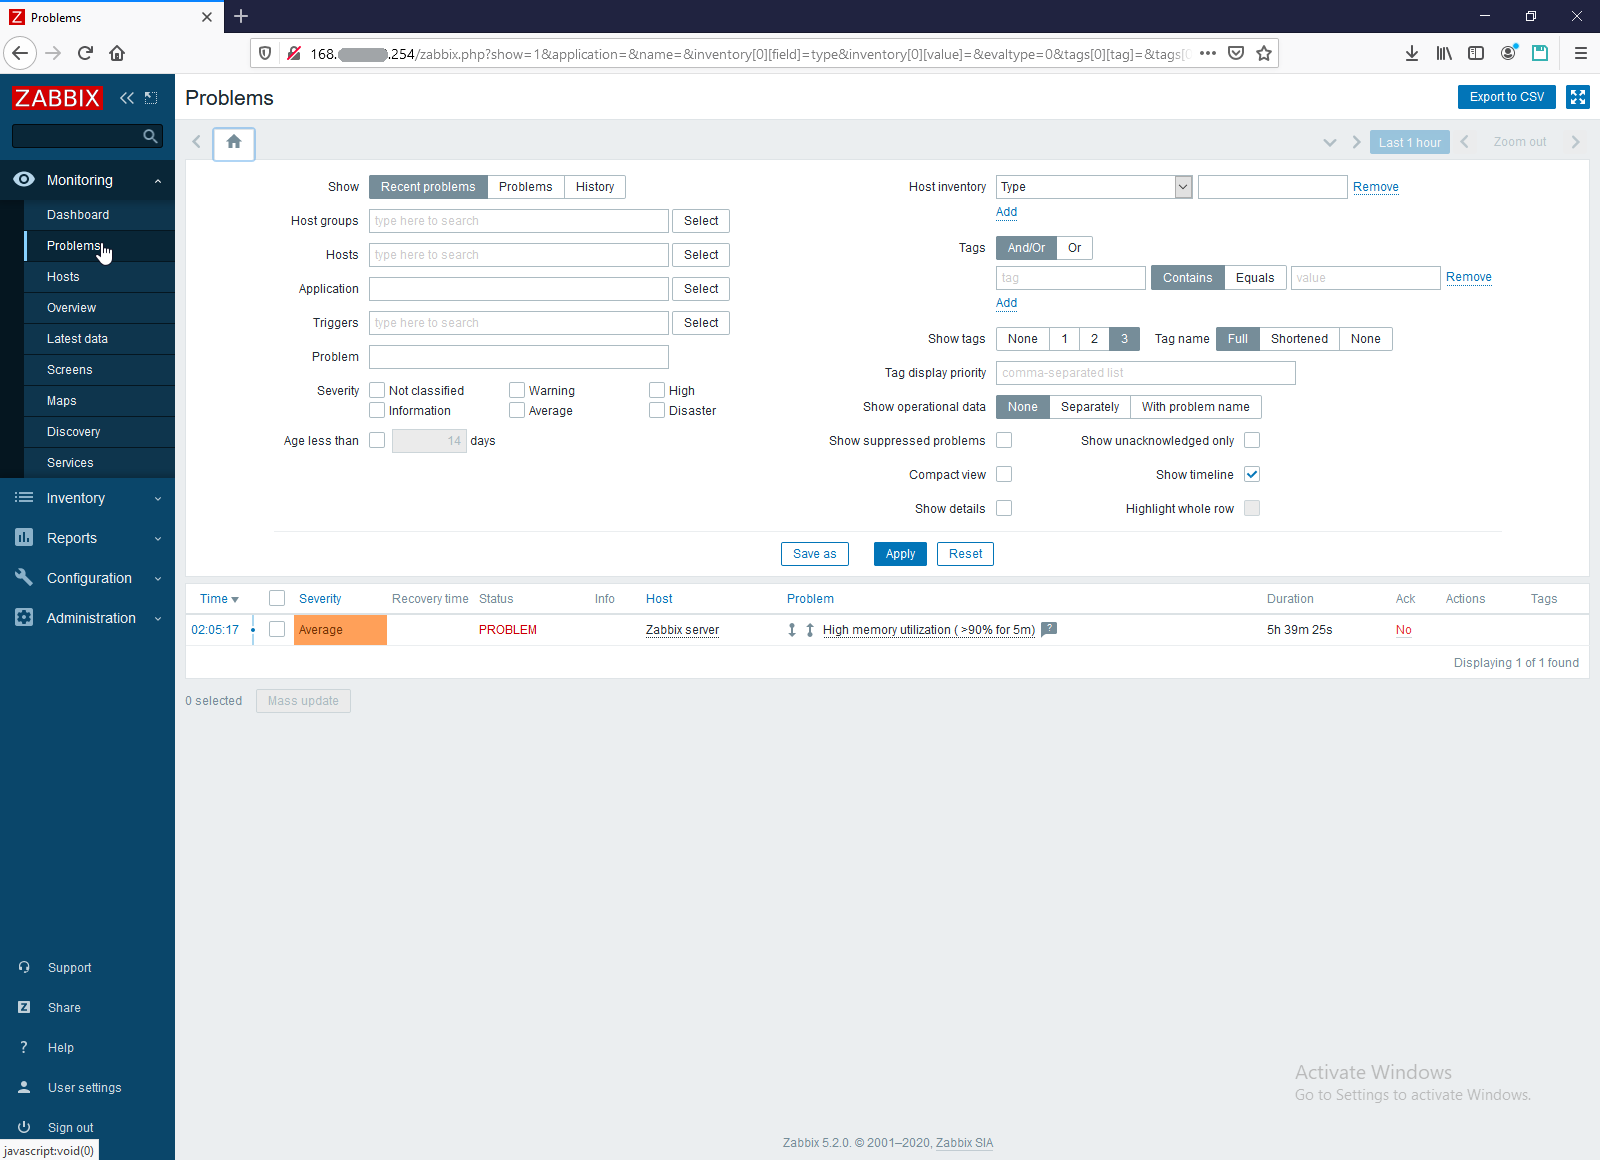
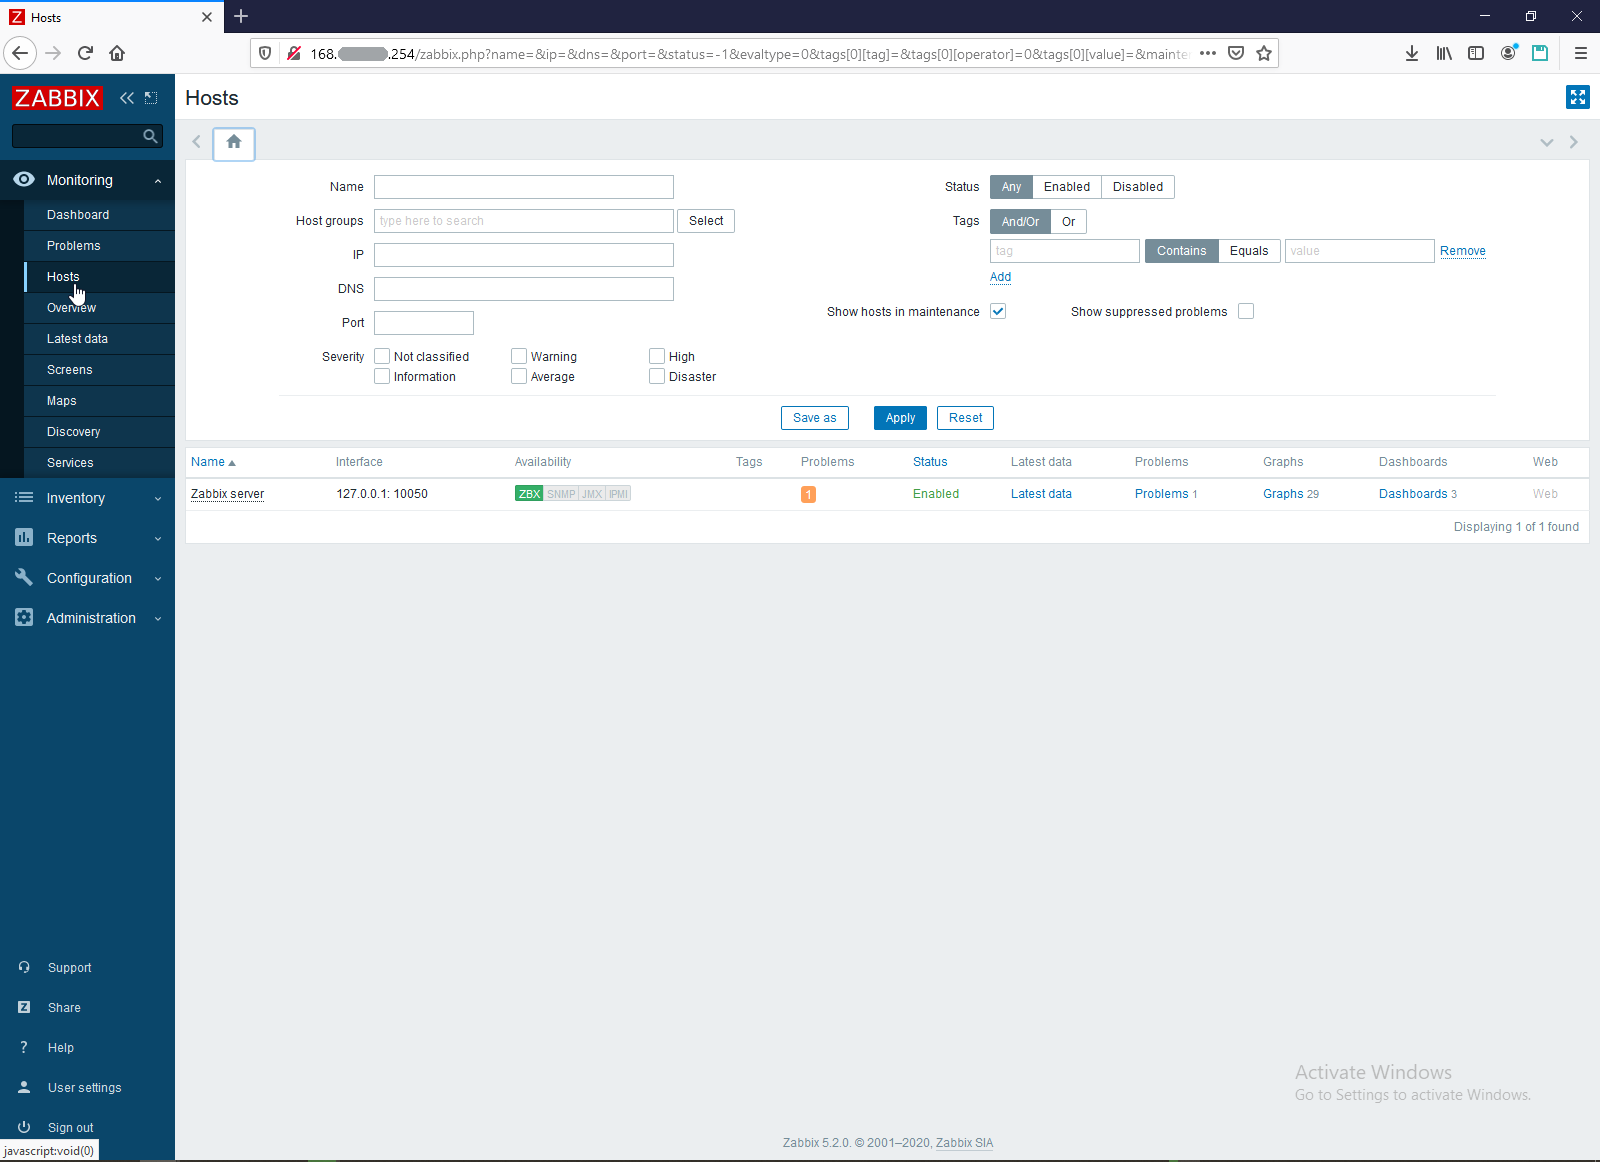
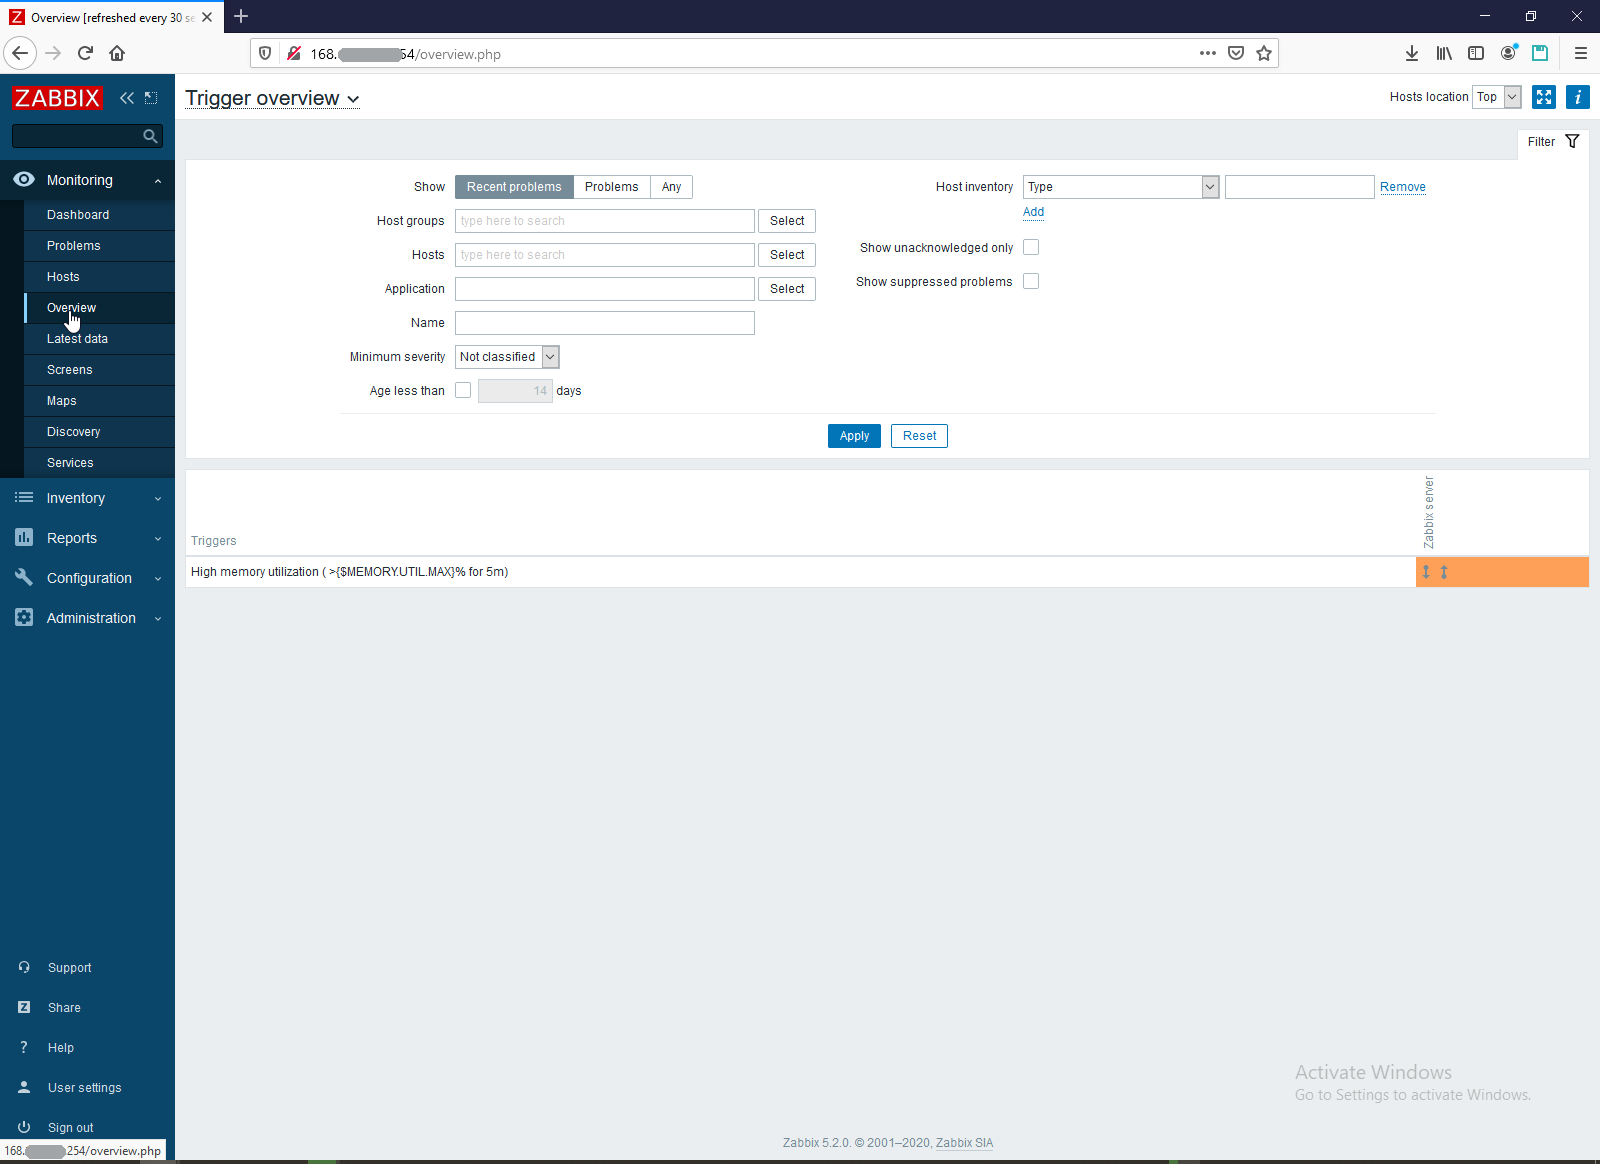
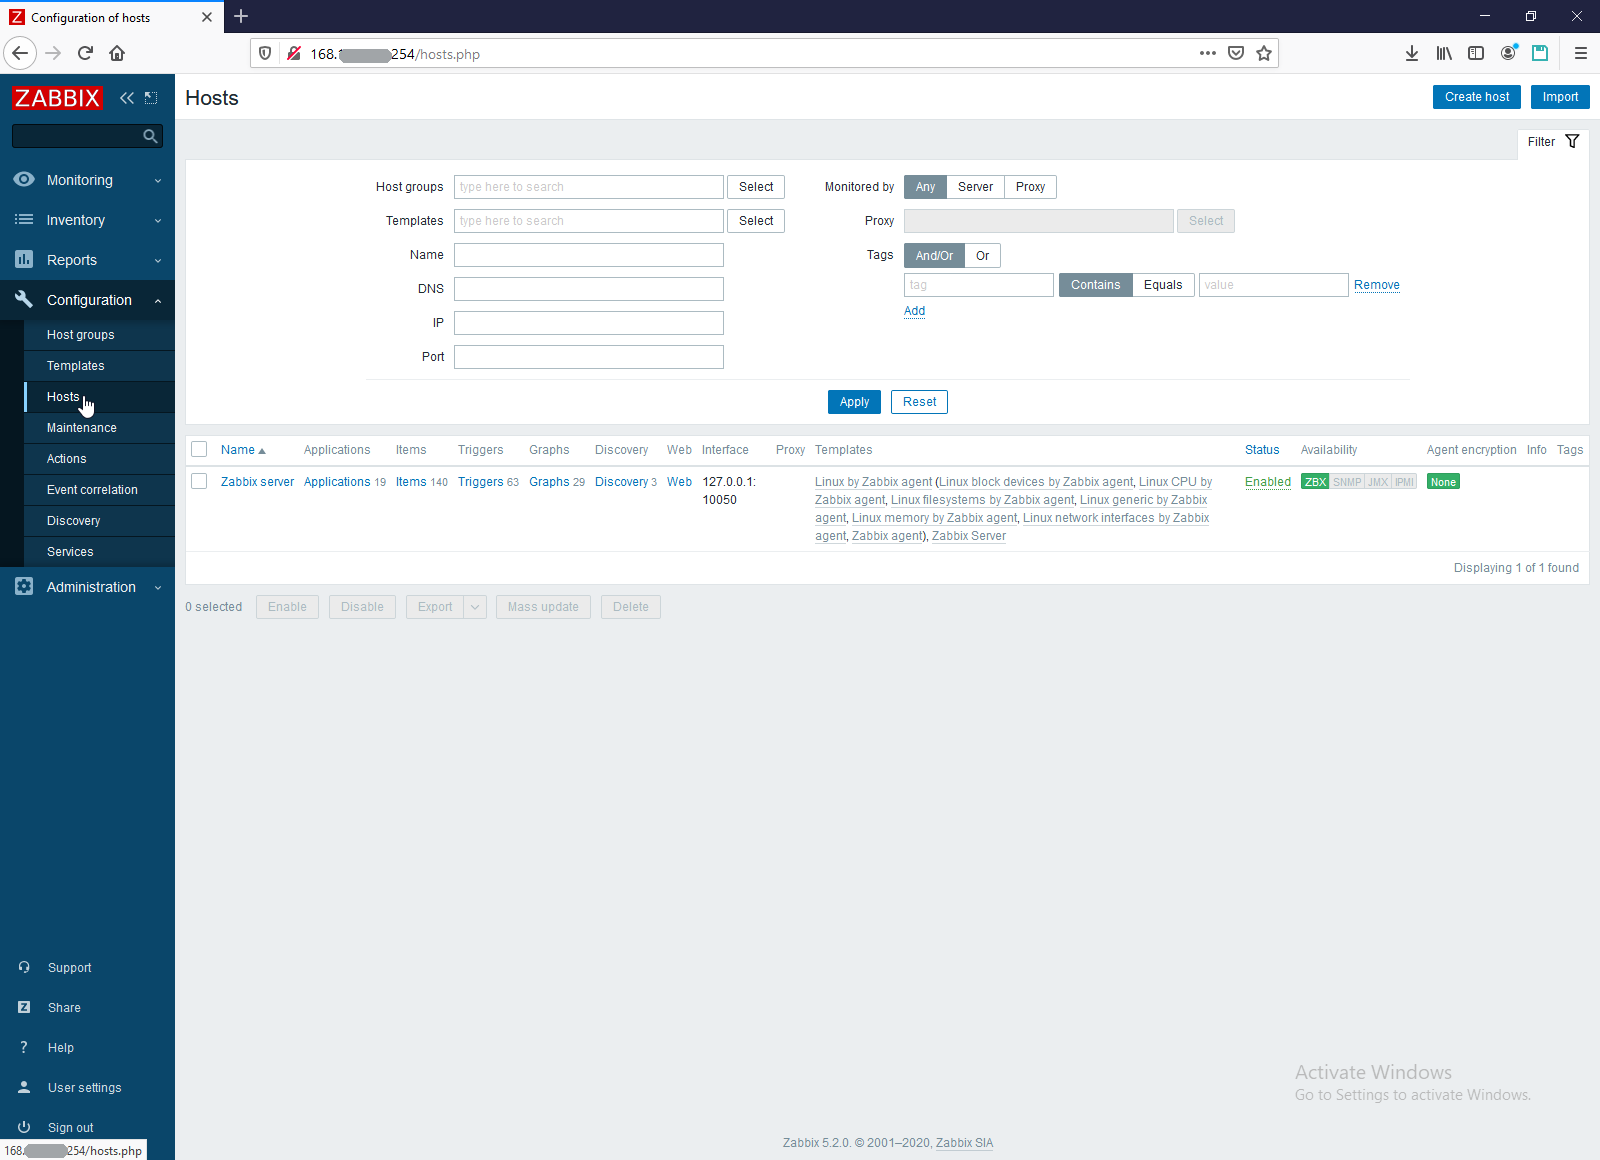
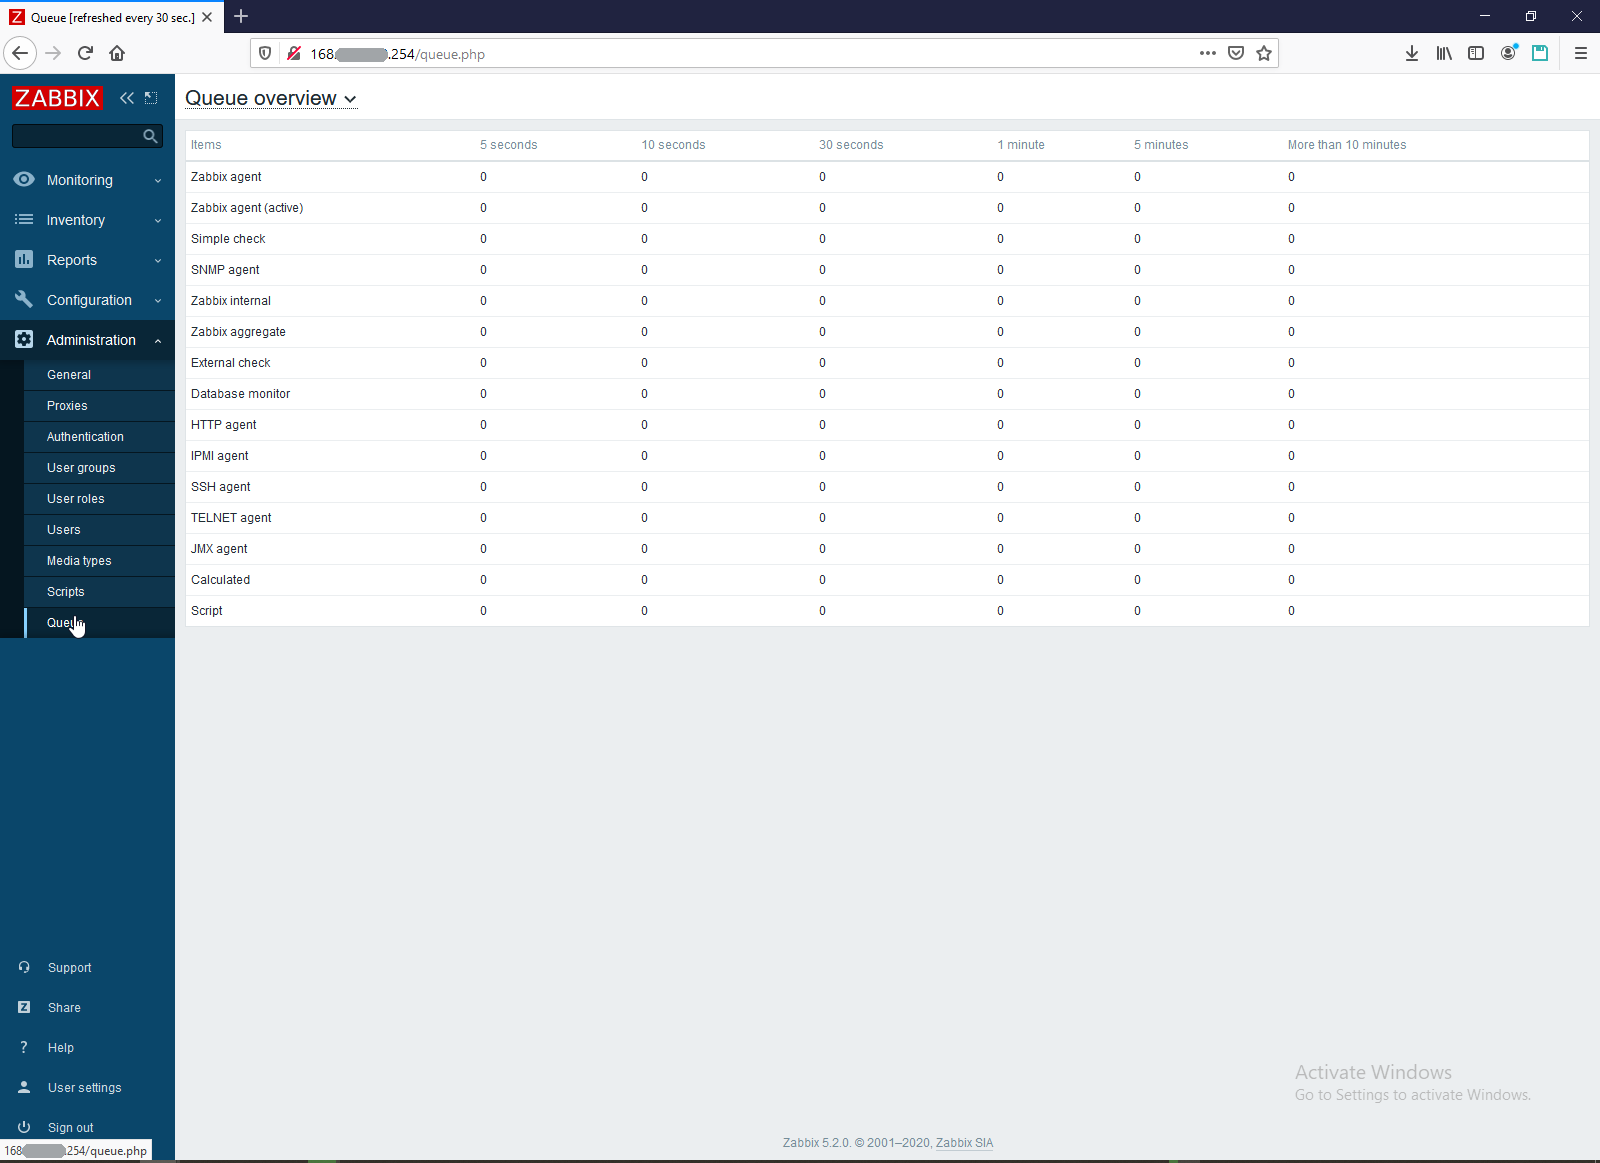
7. Next steps.
Goal of Zabbix is controlling VmWare, Windows, Linux machines and switch. For this purposes need to install agent to each controlling environment and templates to server. And final step of all tuning is tuning notification sending about overloading various resources in your servers. Zabbix support Telegram, Discord and so on.
 )
)
| <SITEMAP> <MVC> <ASP> <NET> <DATA> <KIOSK> <FLEX> <SQL> <NOTES> <LINUX> <MONO> <FREEWARE> <DOCS> <ENG> <CHAT ME> <ABOUT ME> < THANKS ME> |